Materials Needed
- 2x ESP32 microcontrollers
- 2x Soil moisture sensors
- 2x Water pumps with tubing
- 2x Water reservoirs
- 2x Power supplies (5V)
- 2x Transistors (NPN or MOSFET)
- 2x 1K ohm resistors
- Jumper wires and 2x breadboards
- Plant pots with plants
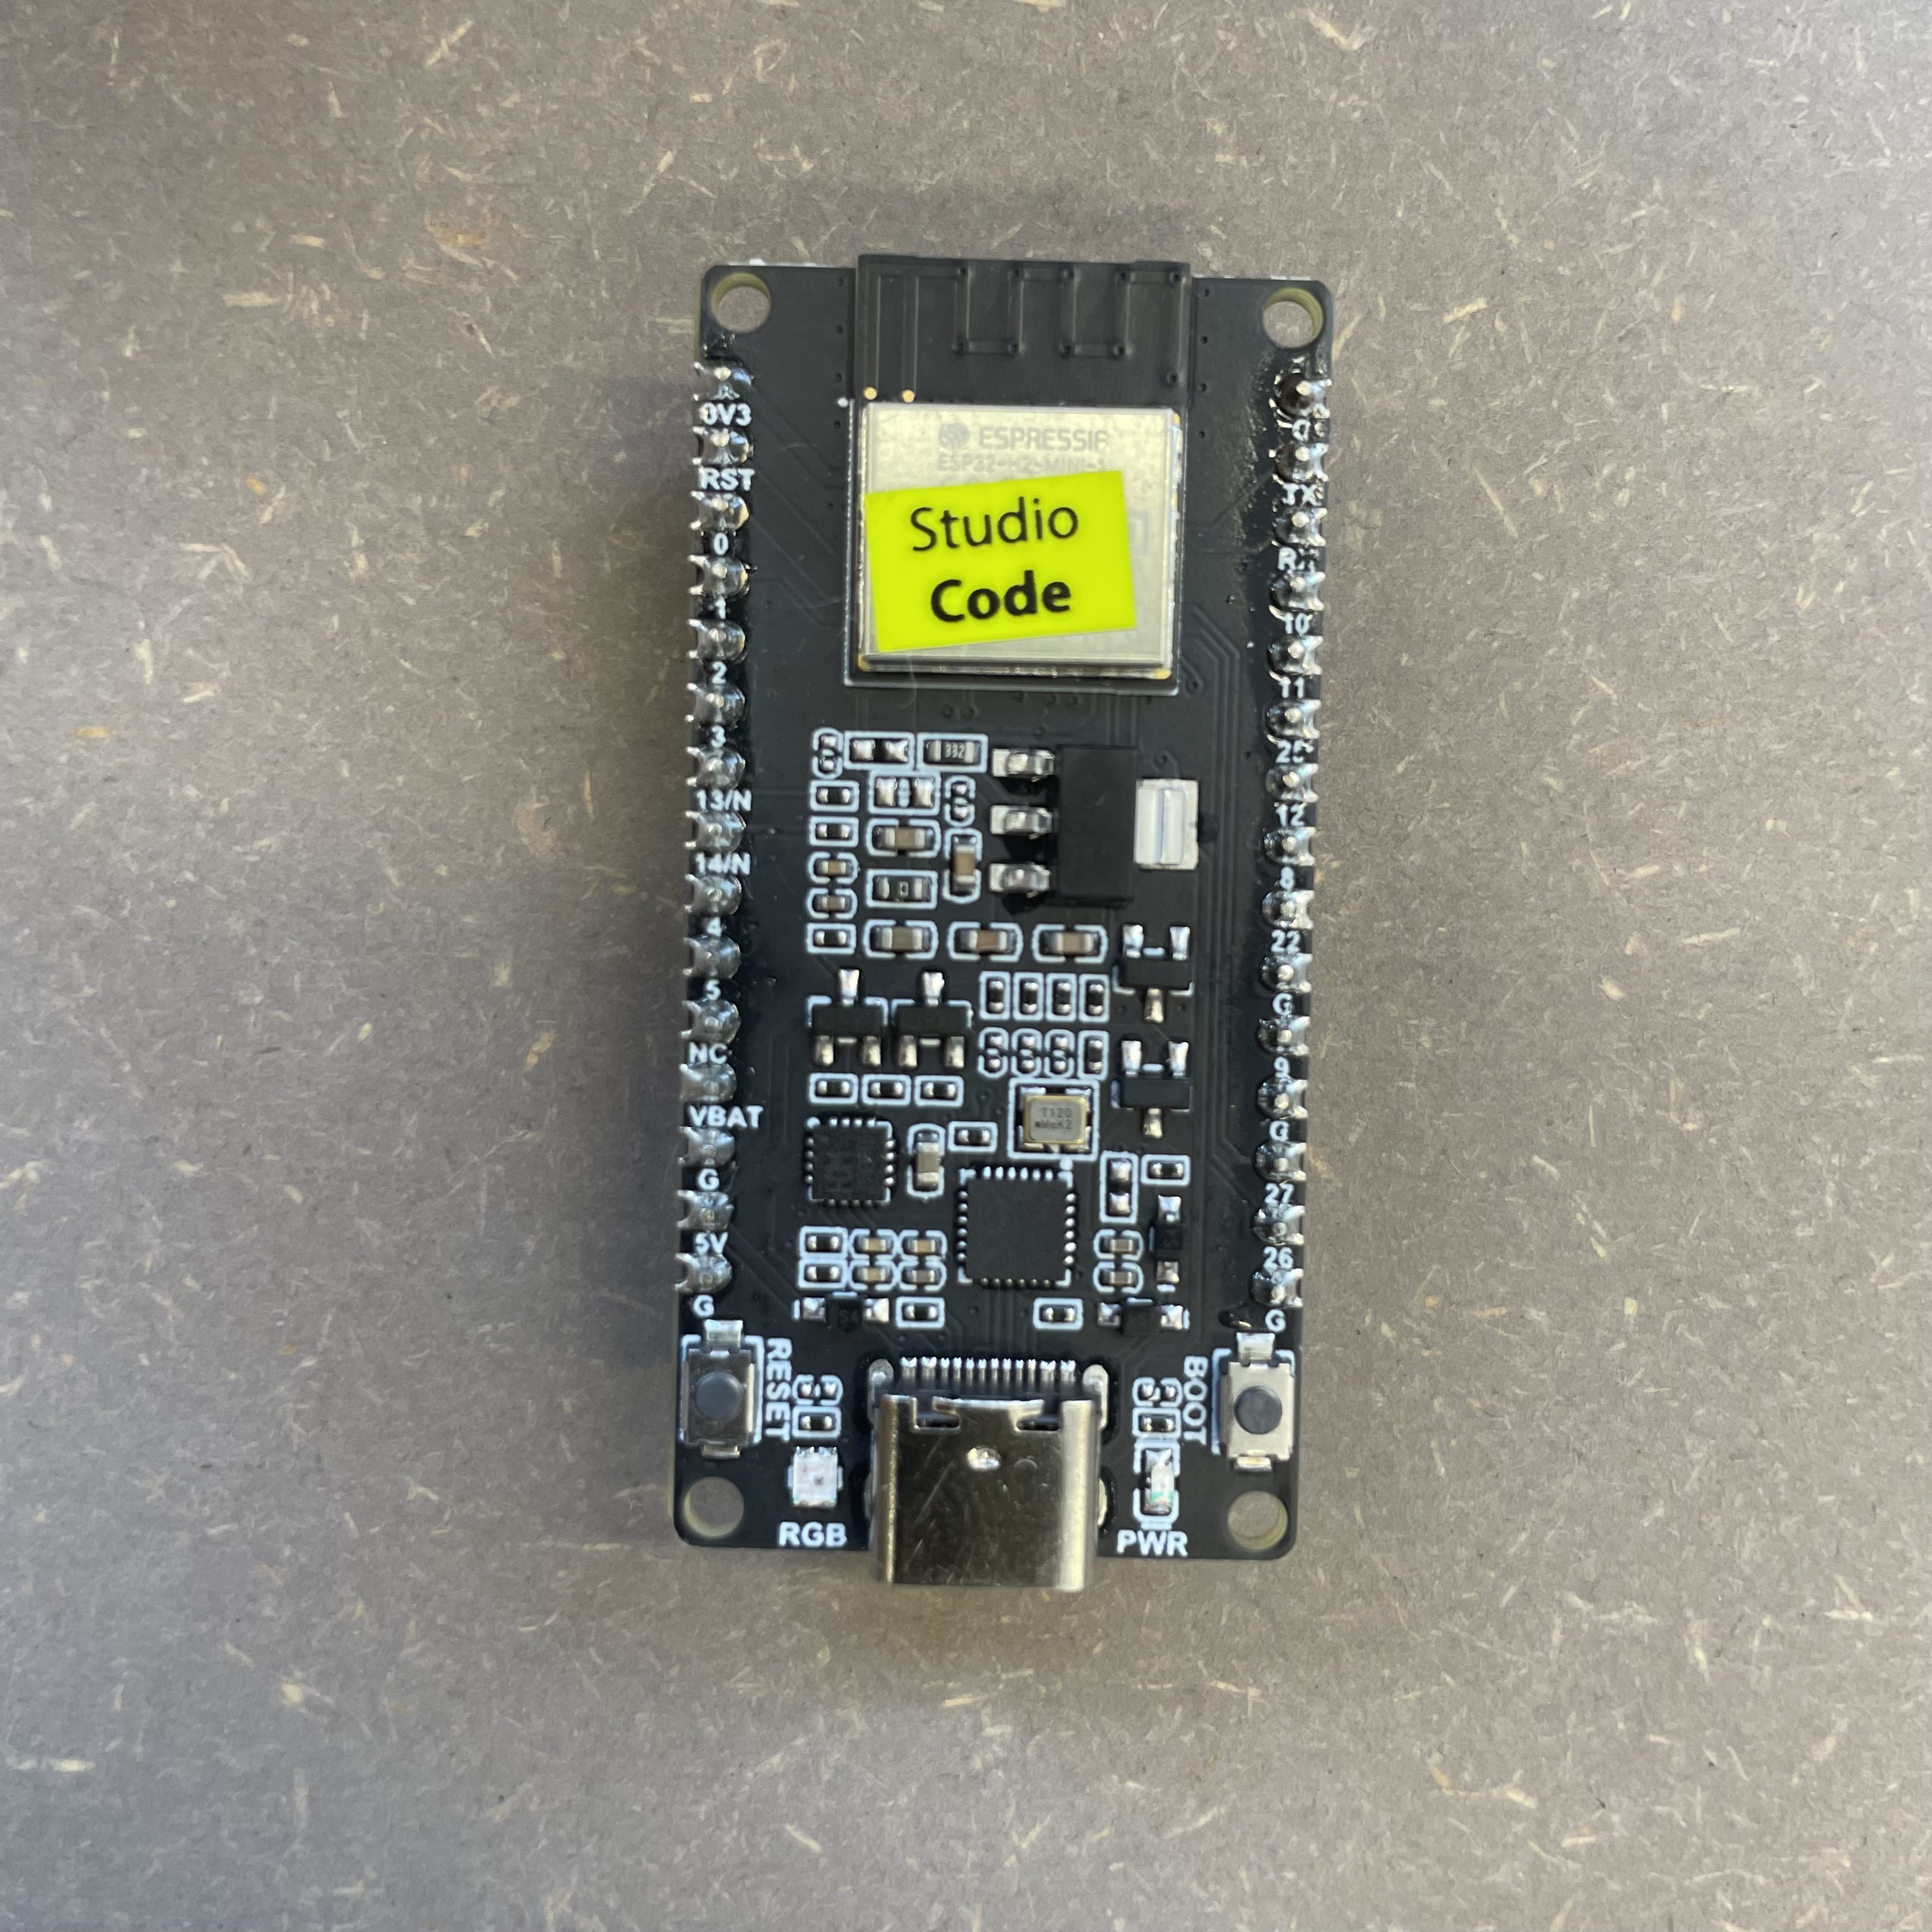 ESP32 Microcontroller
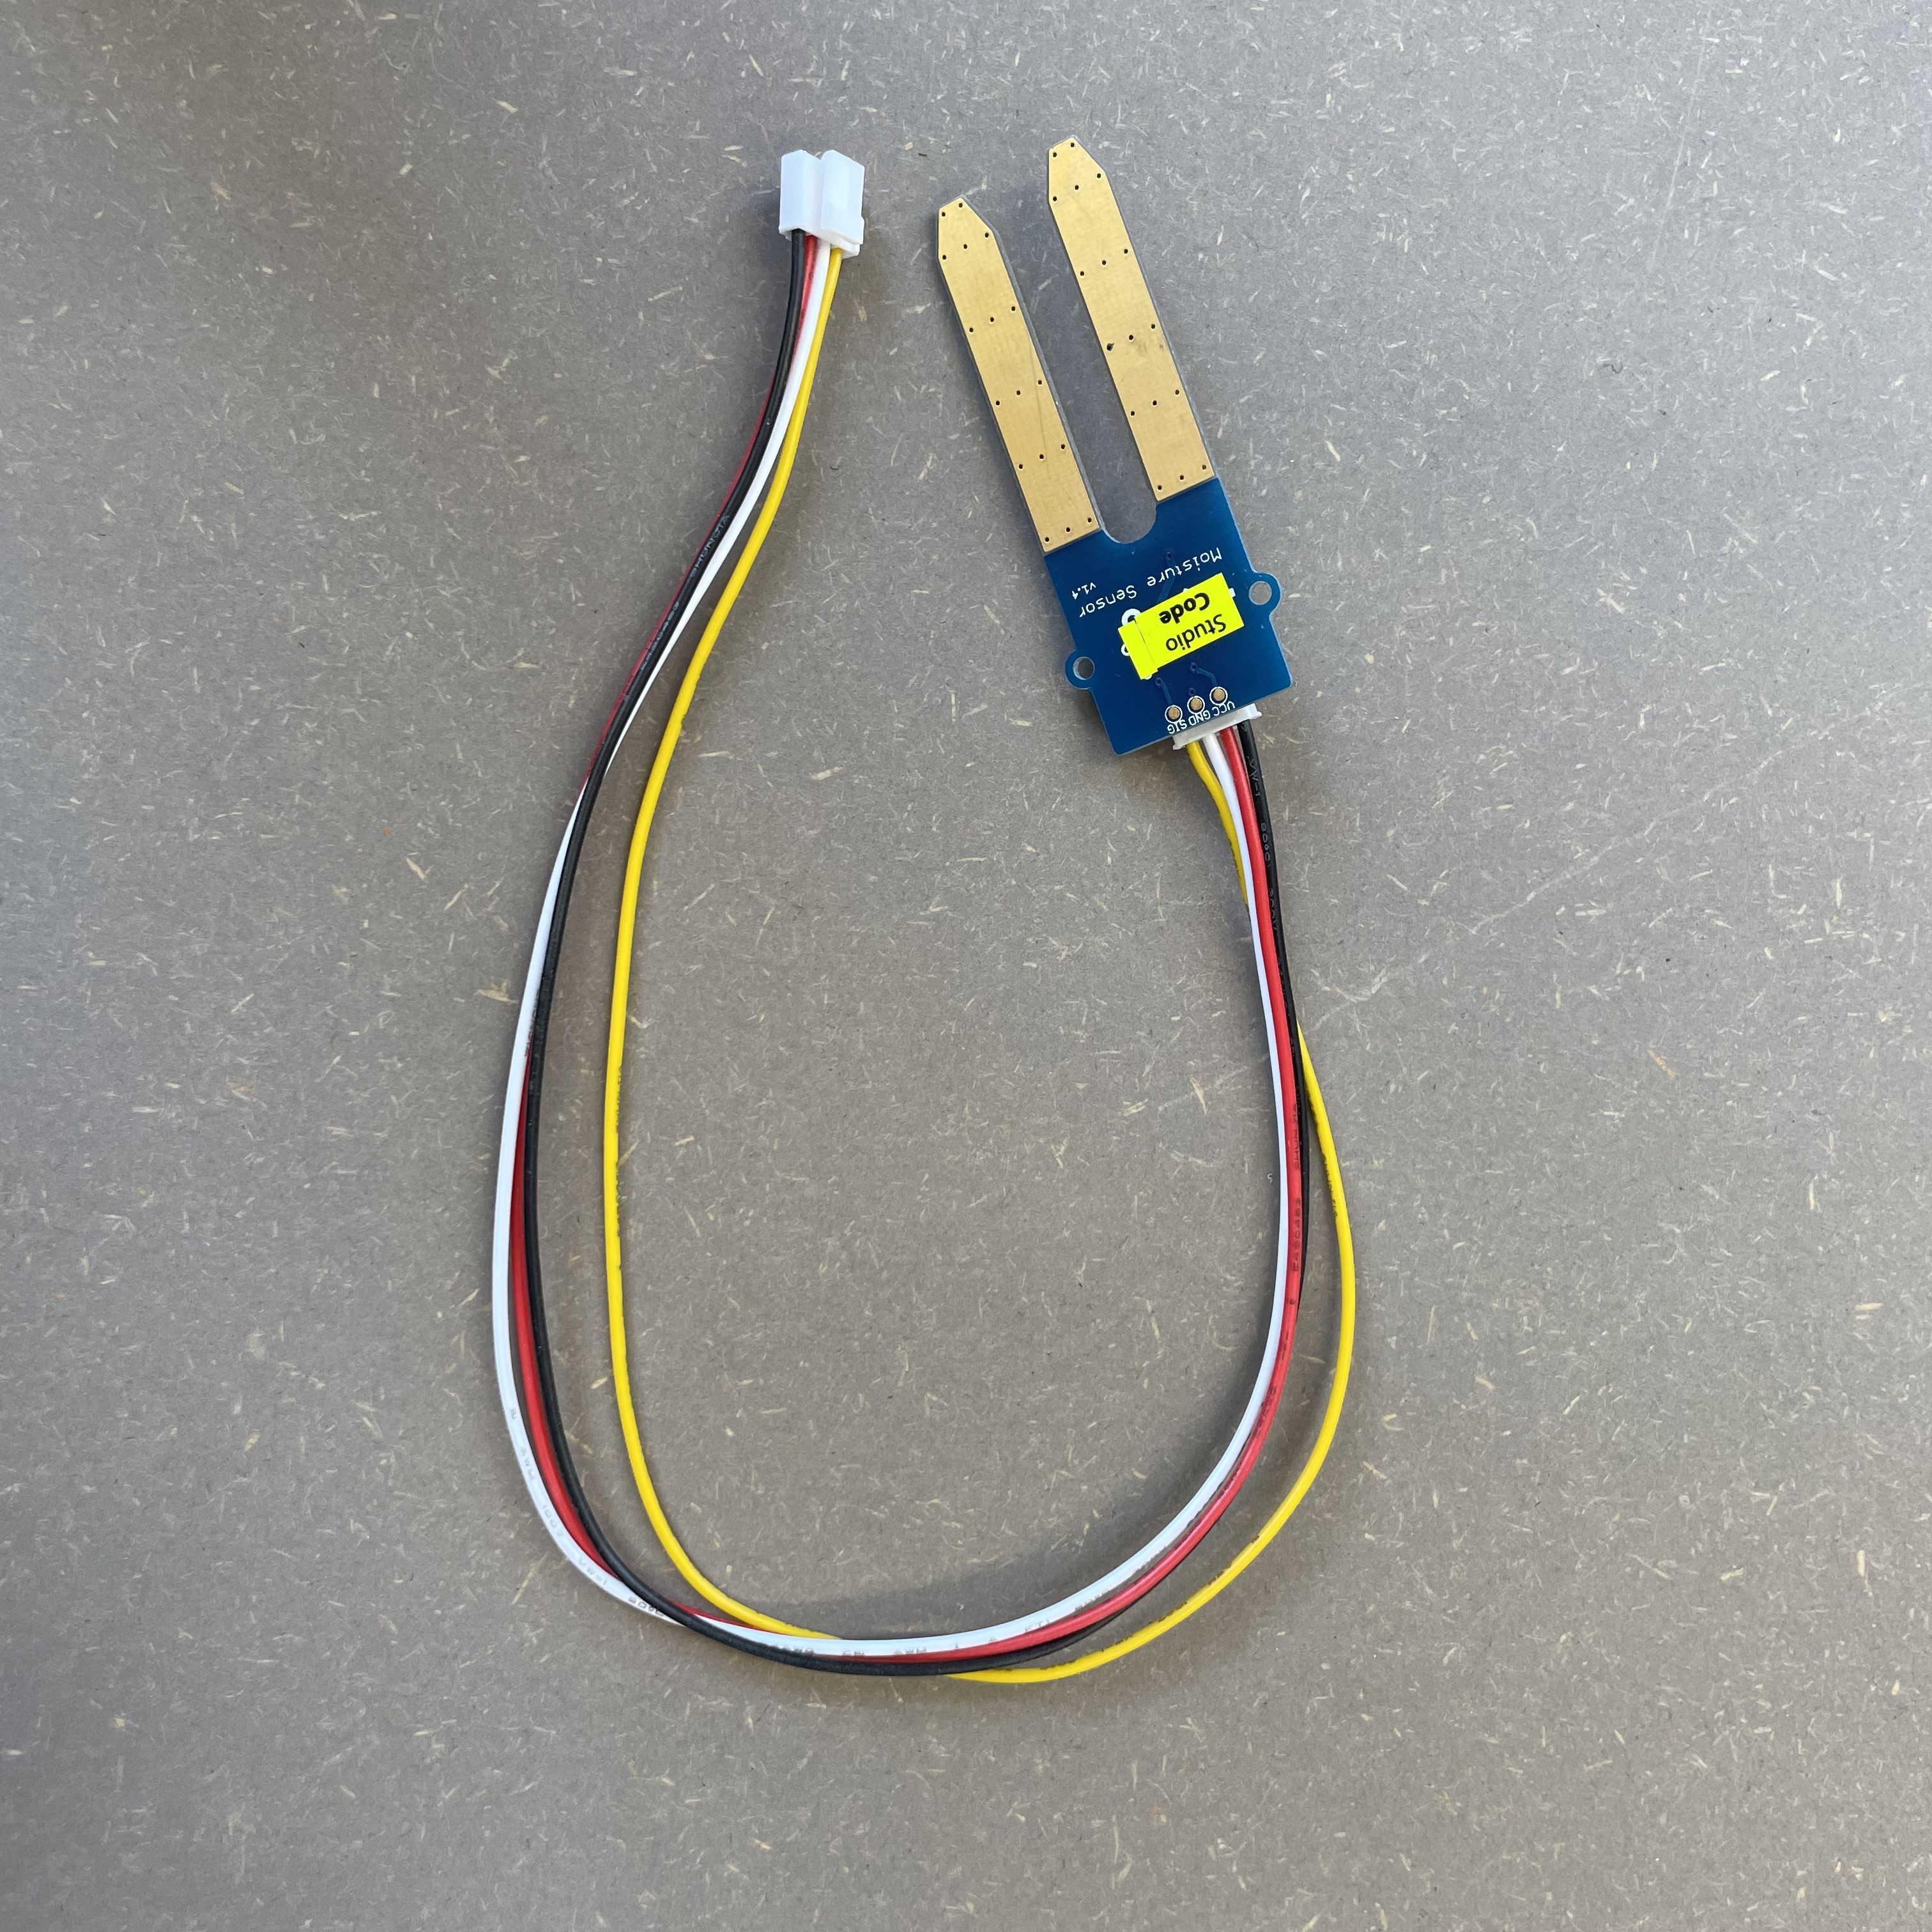 Moisture Sensor
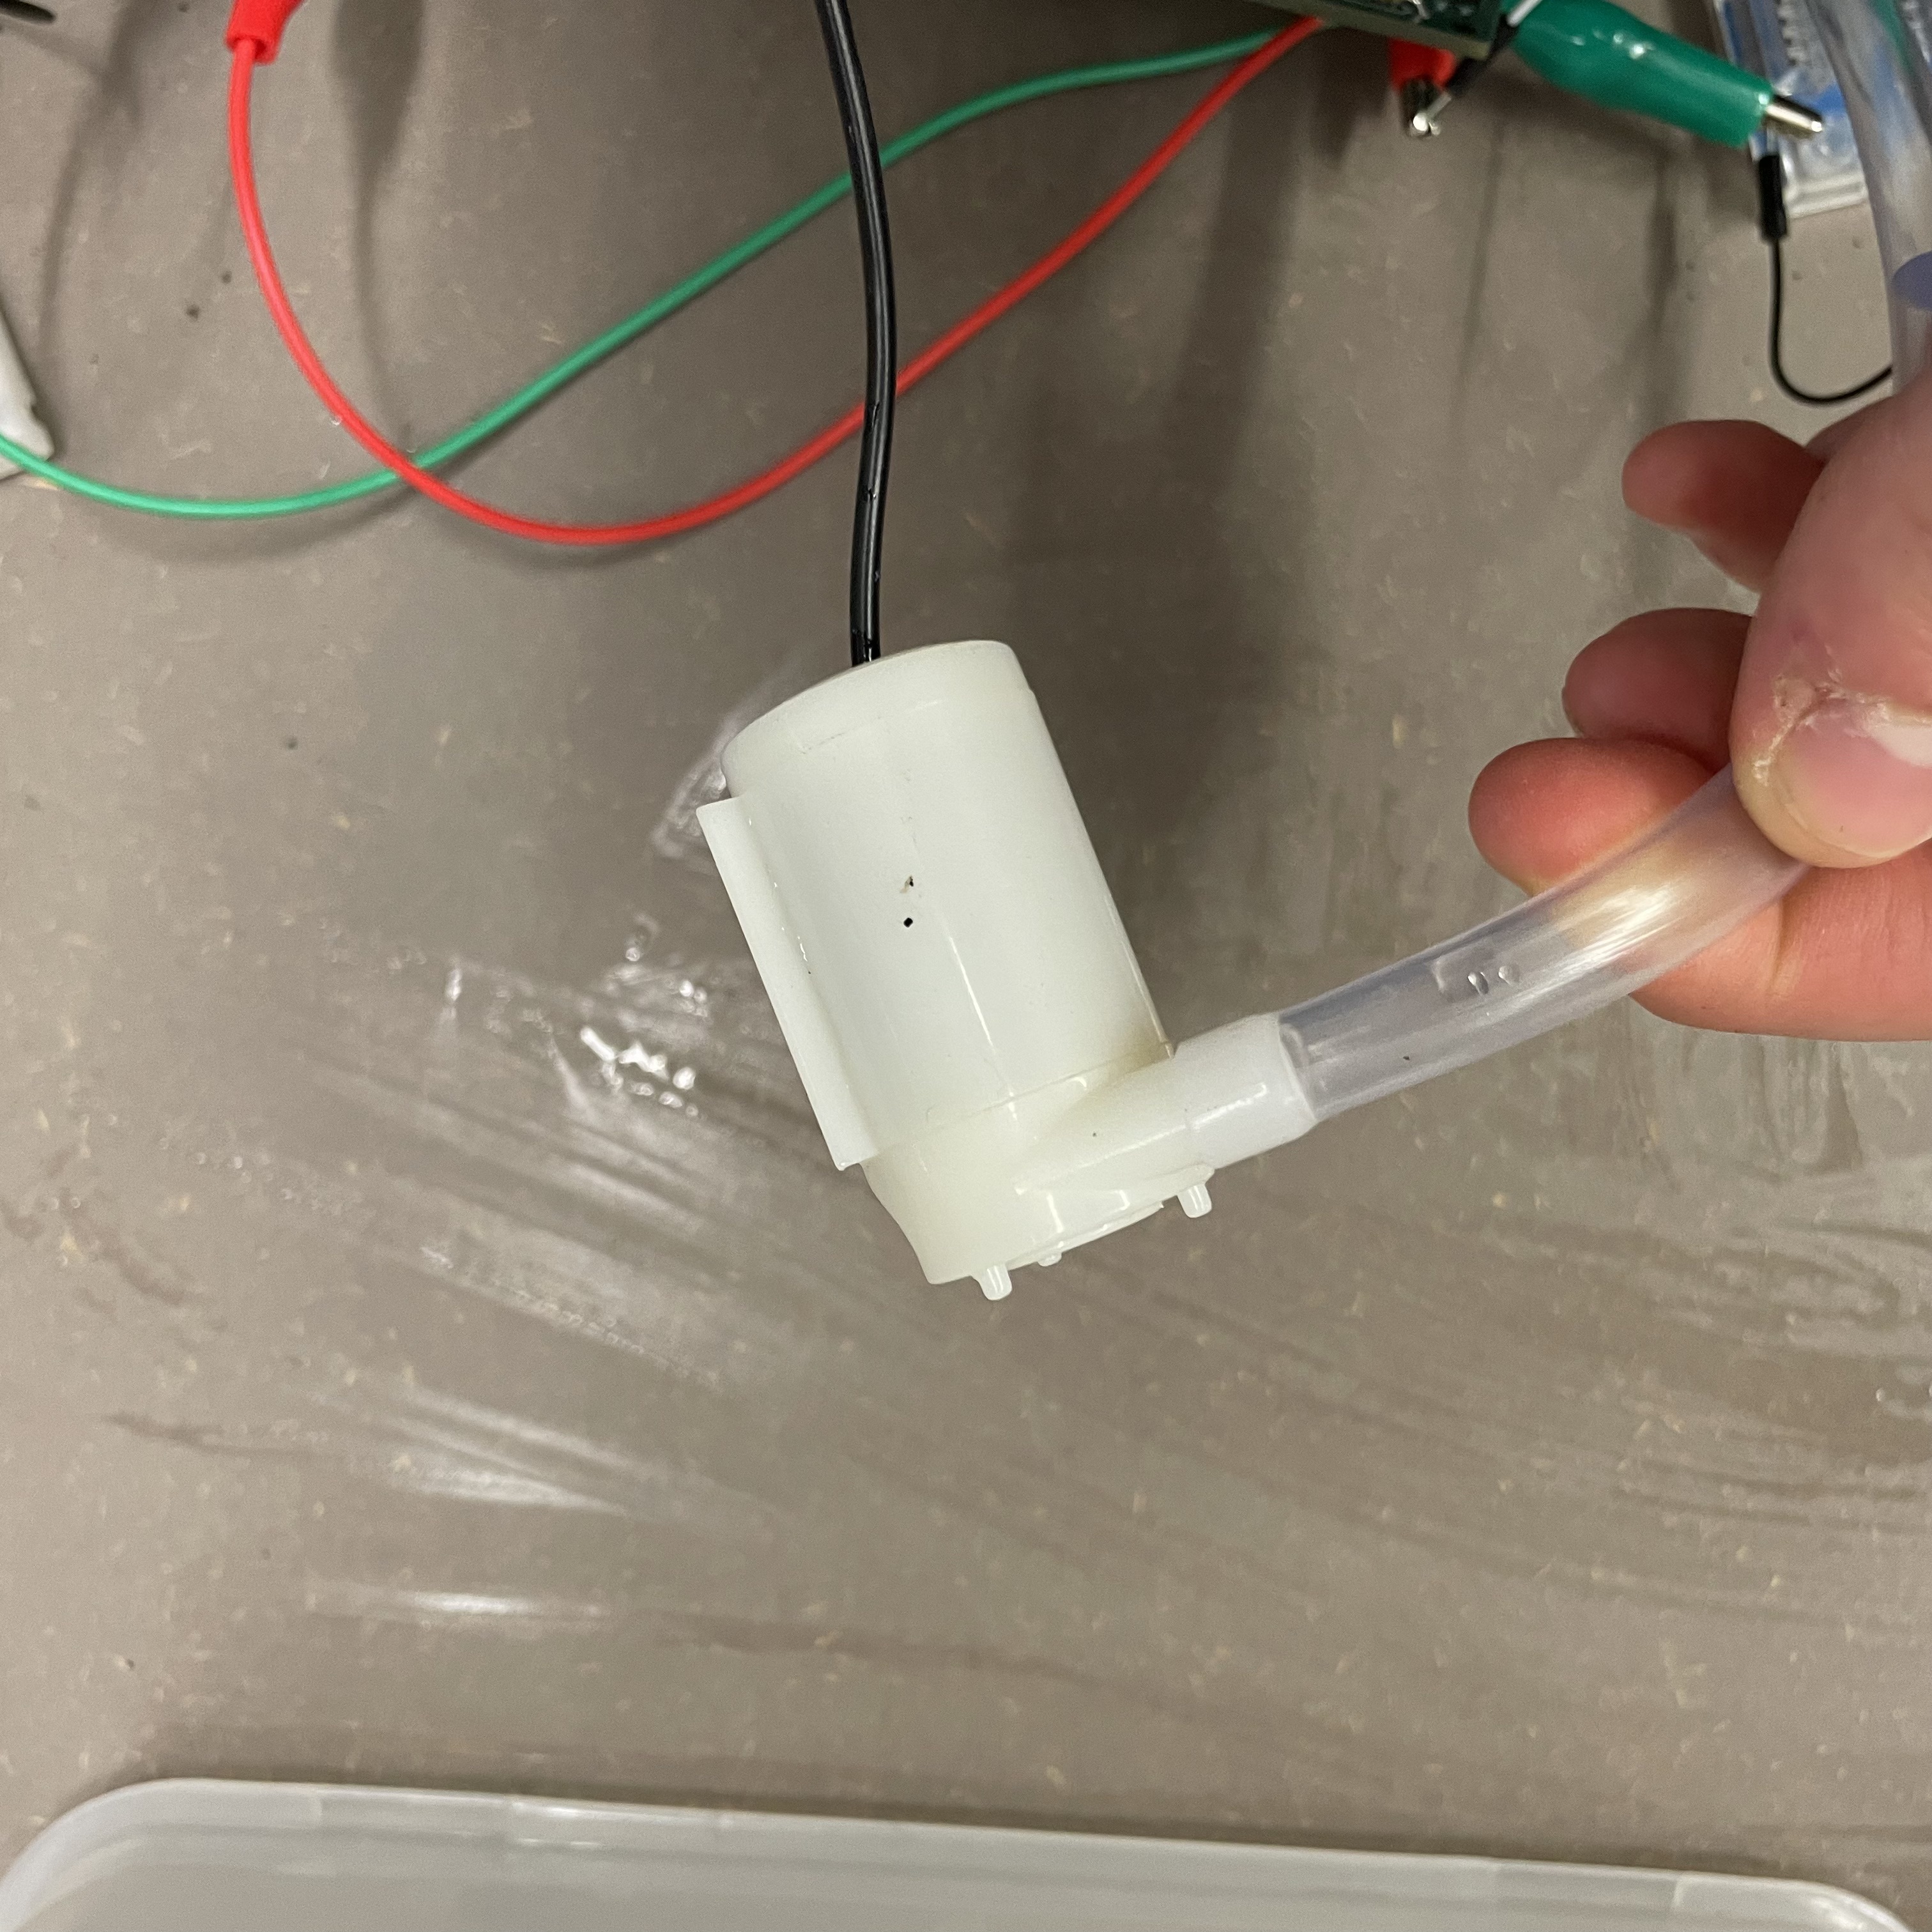 Water Pump
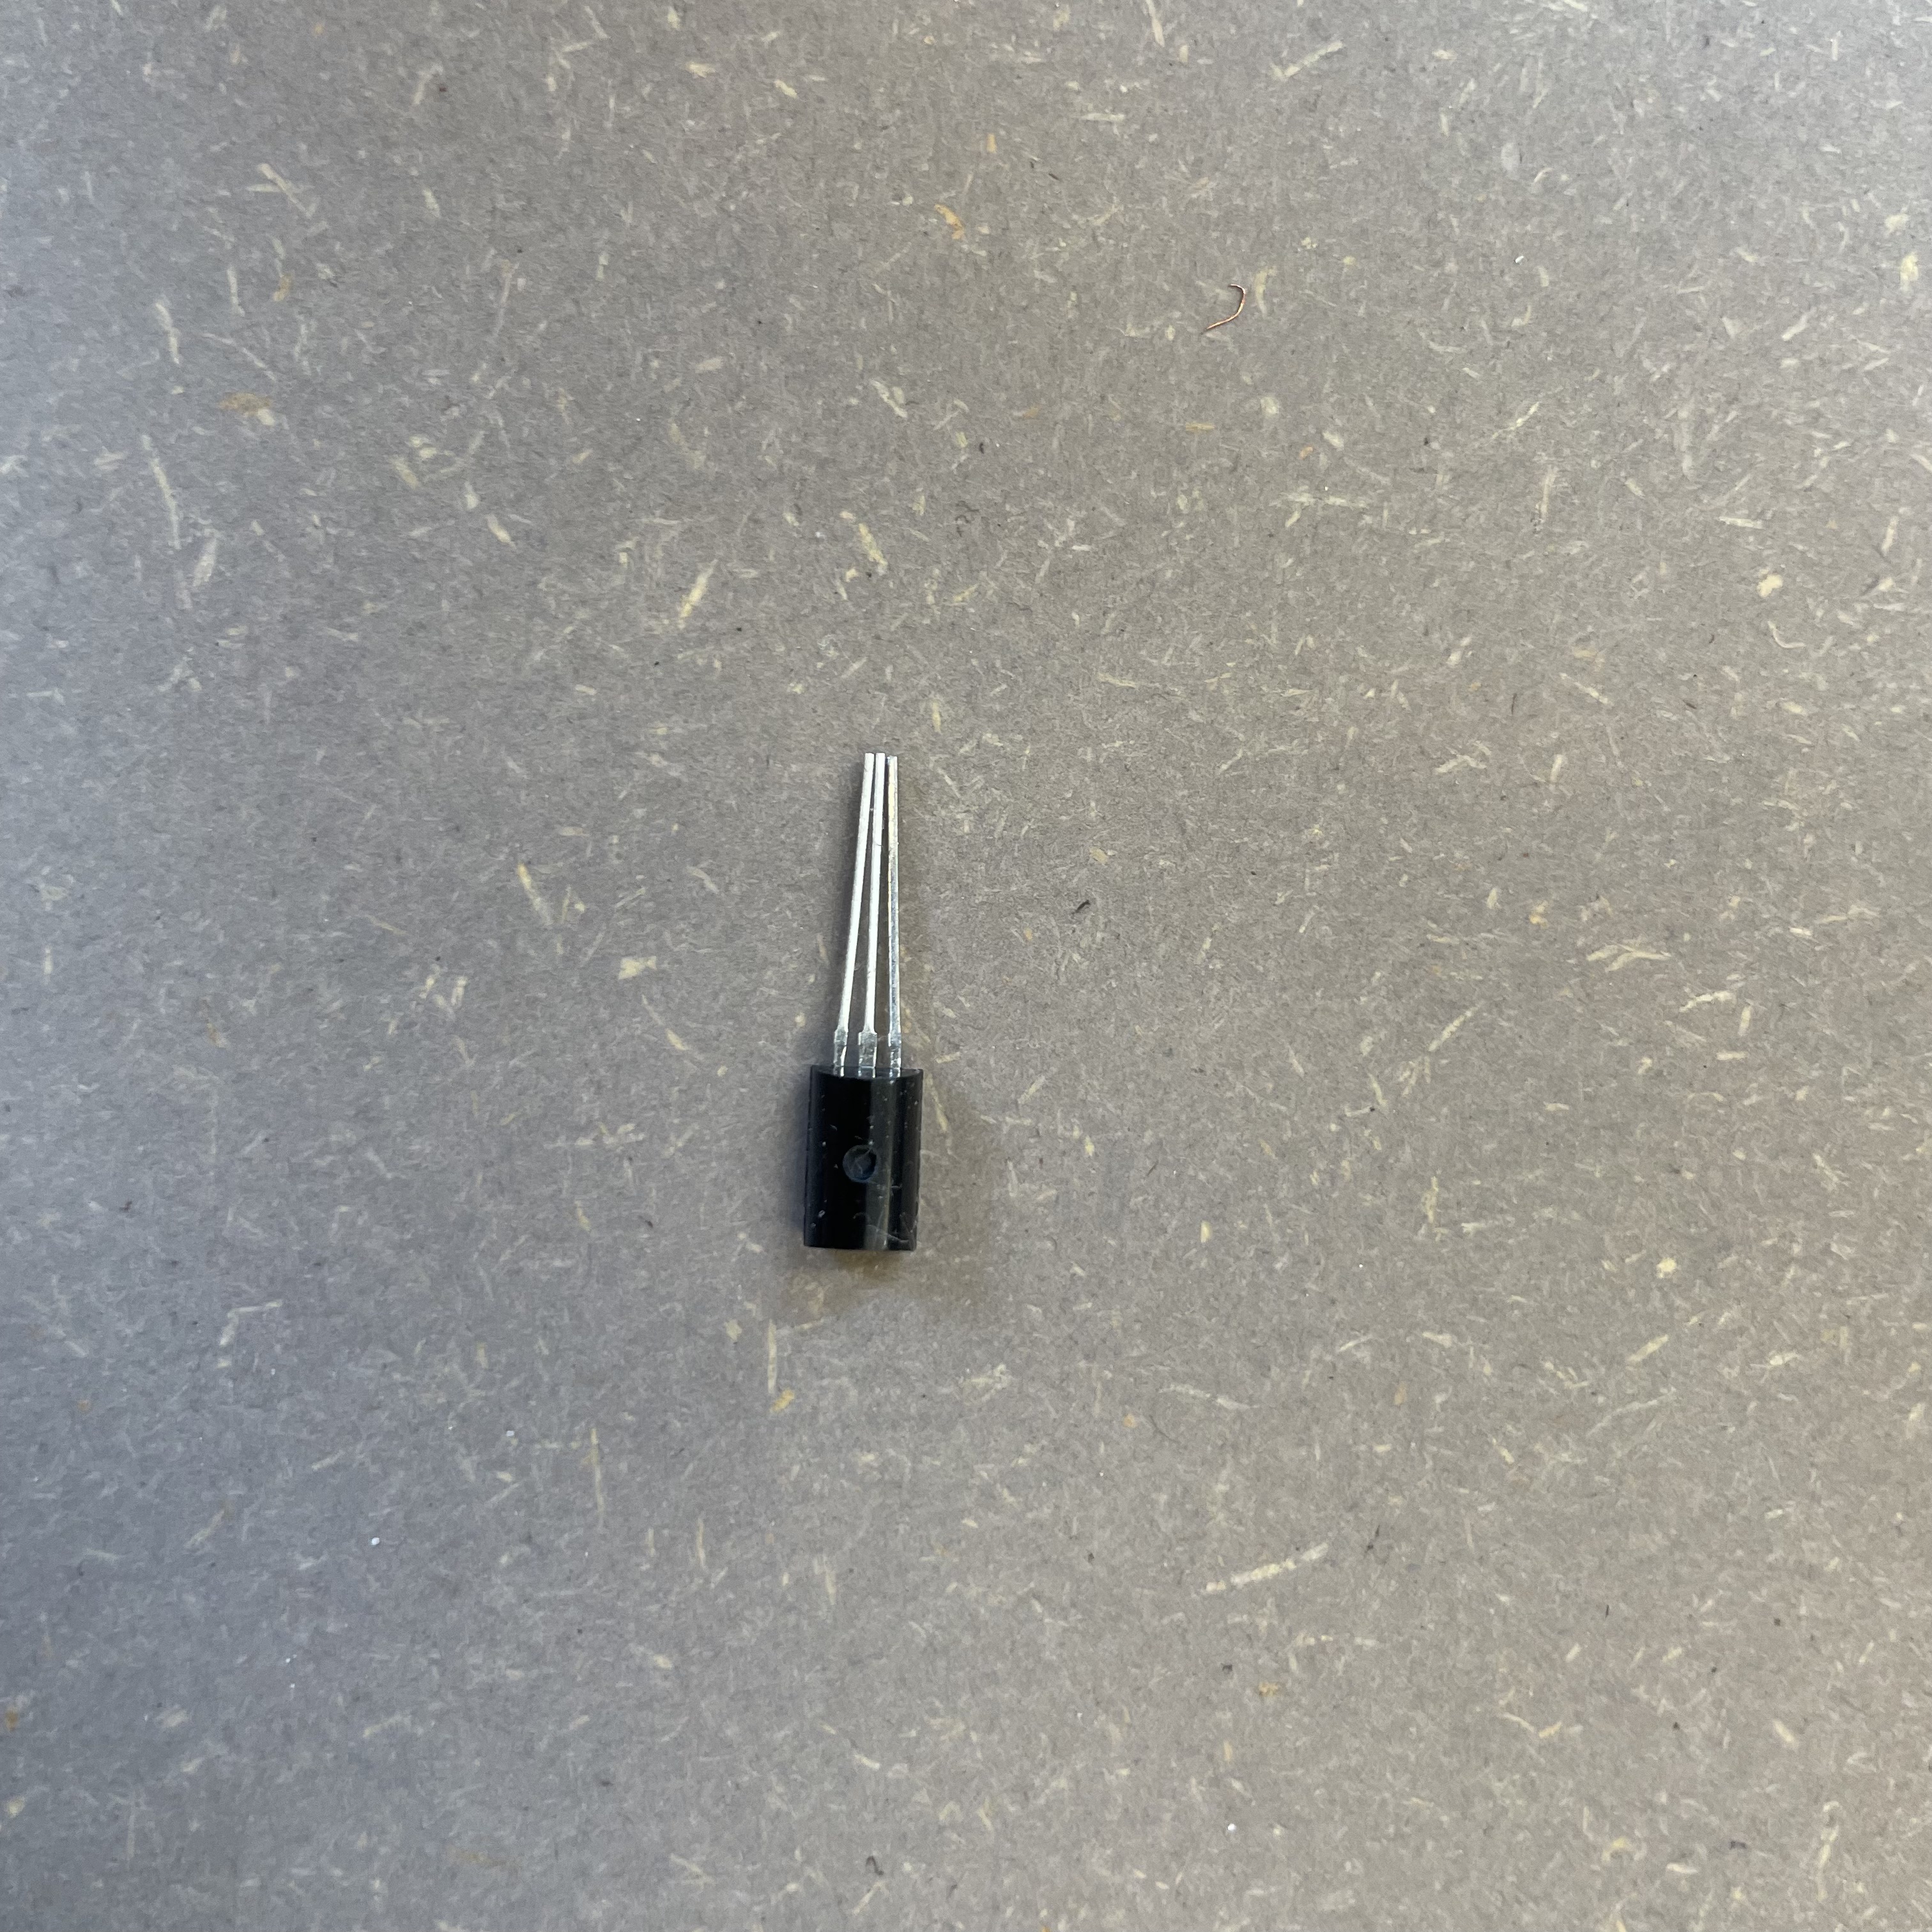 Transistor
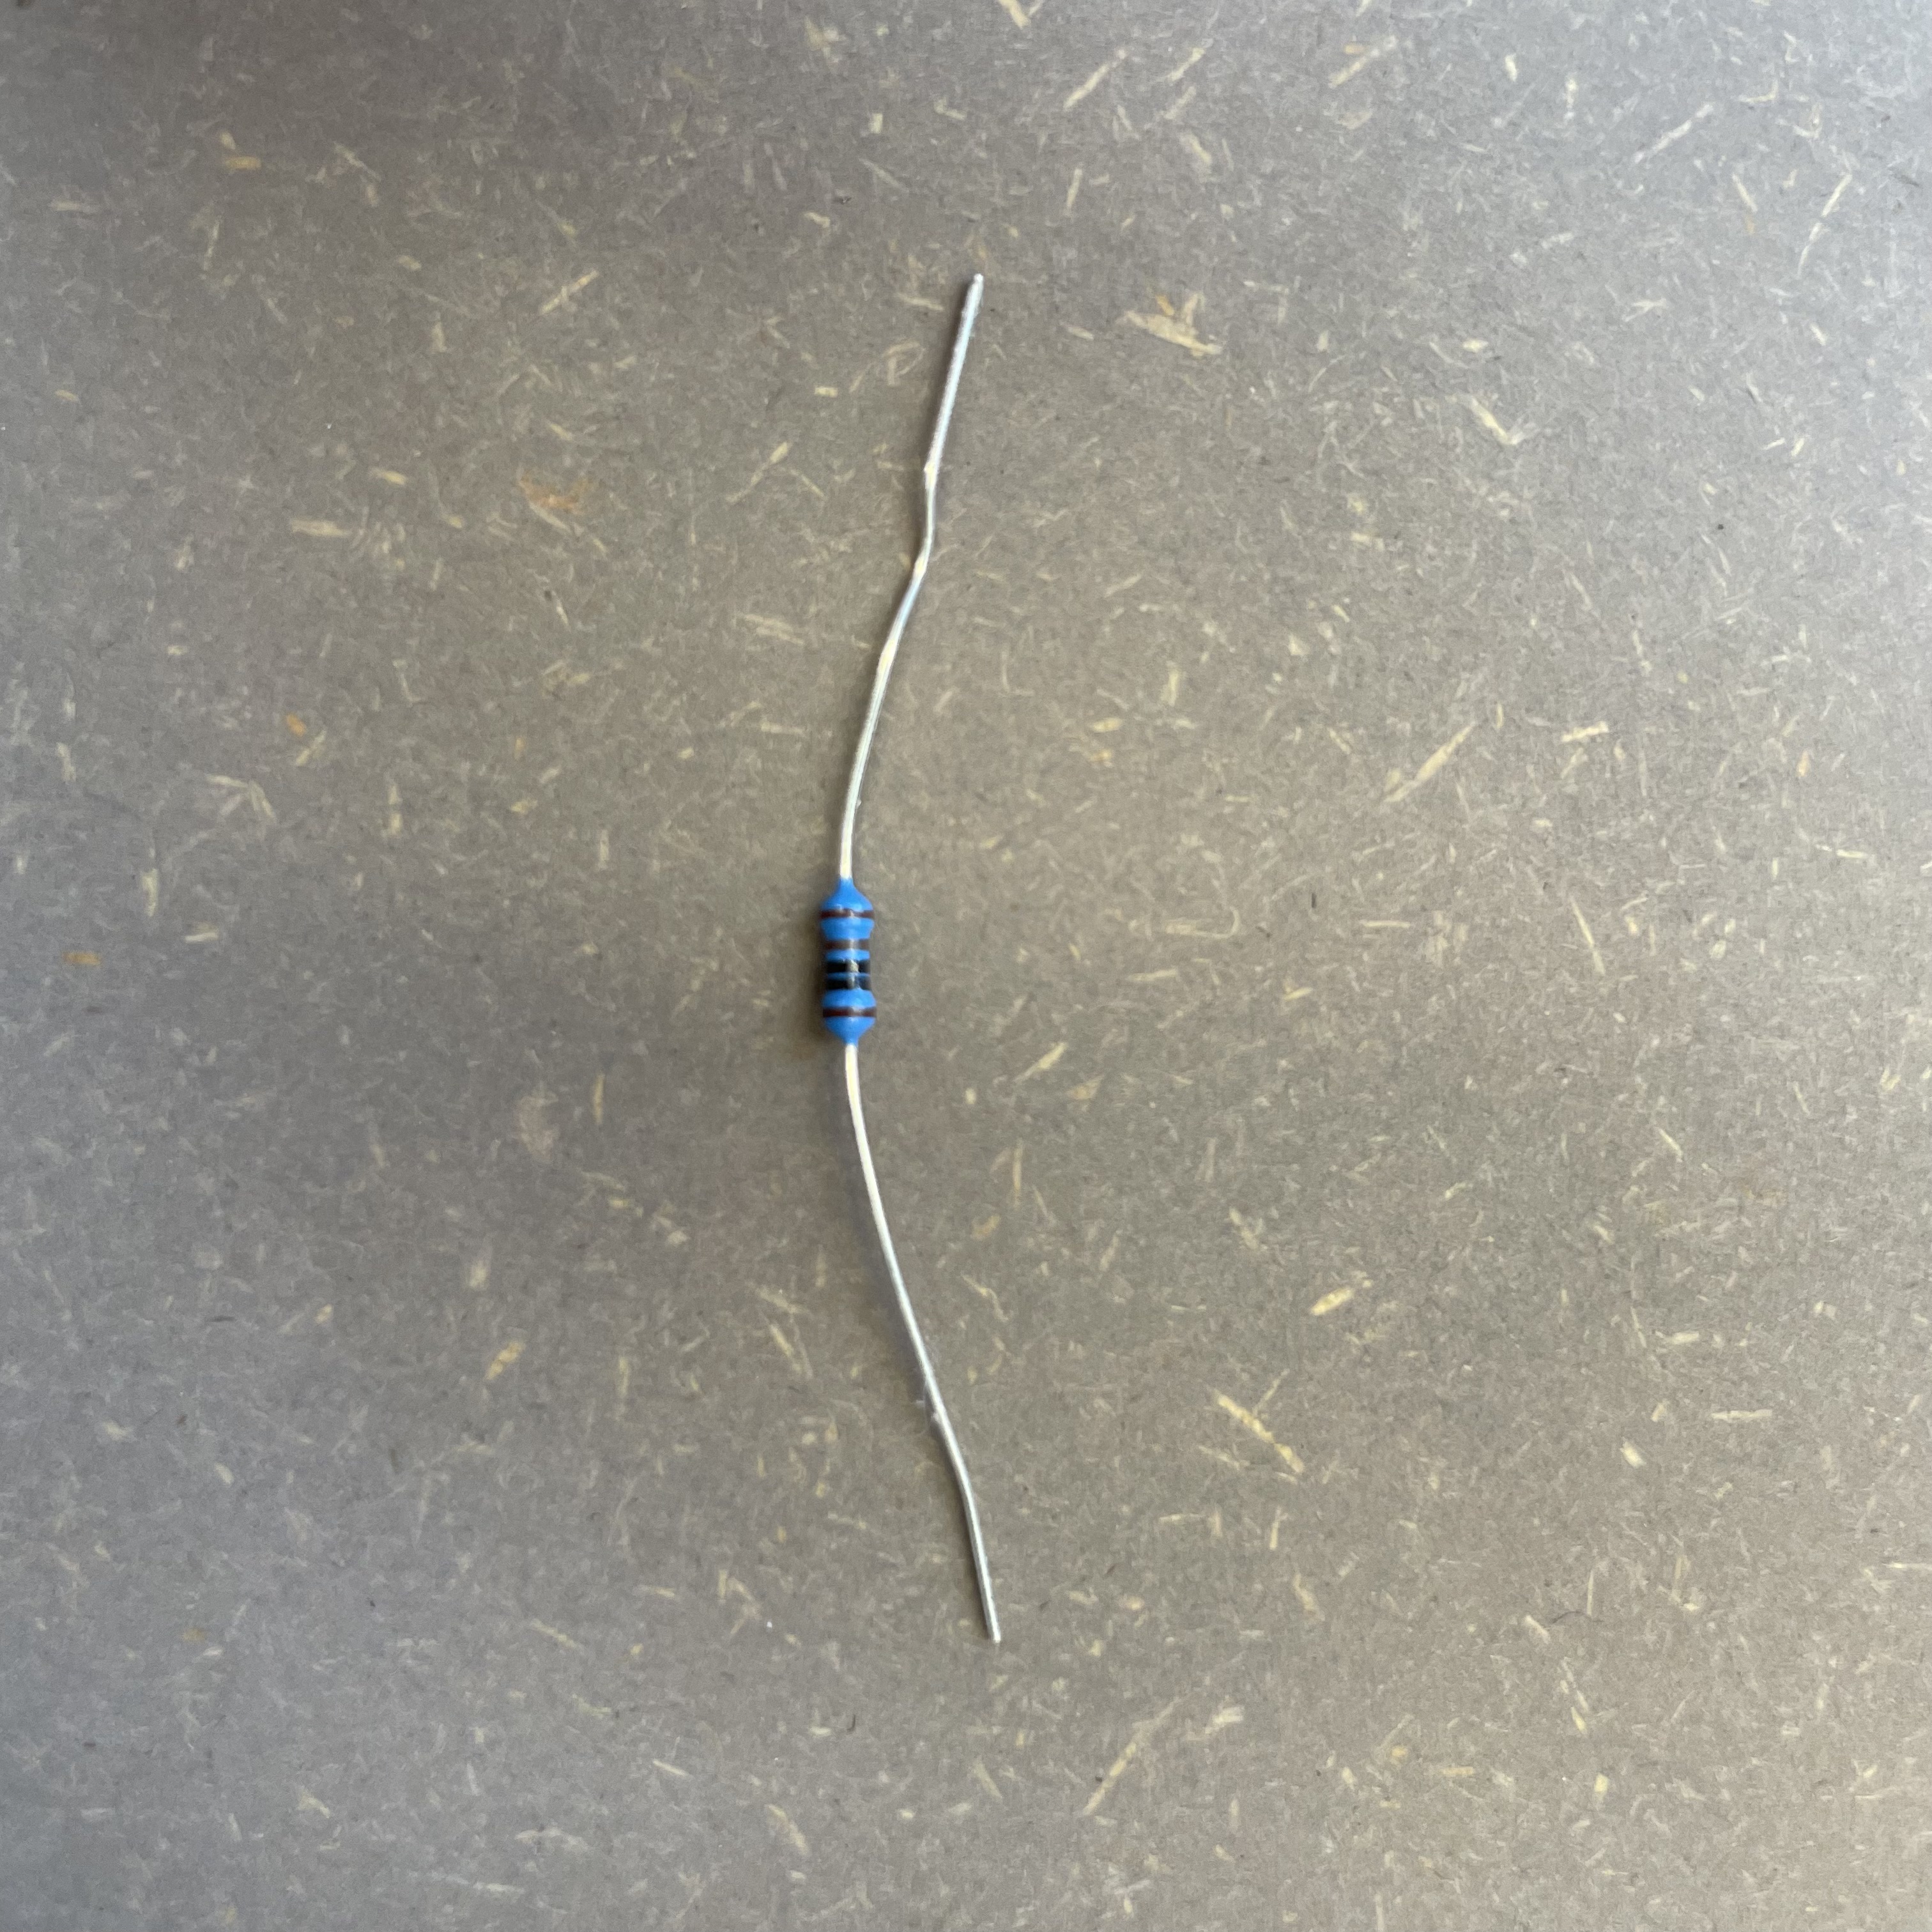 1kΩ Resistor
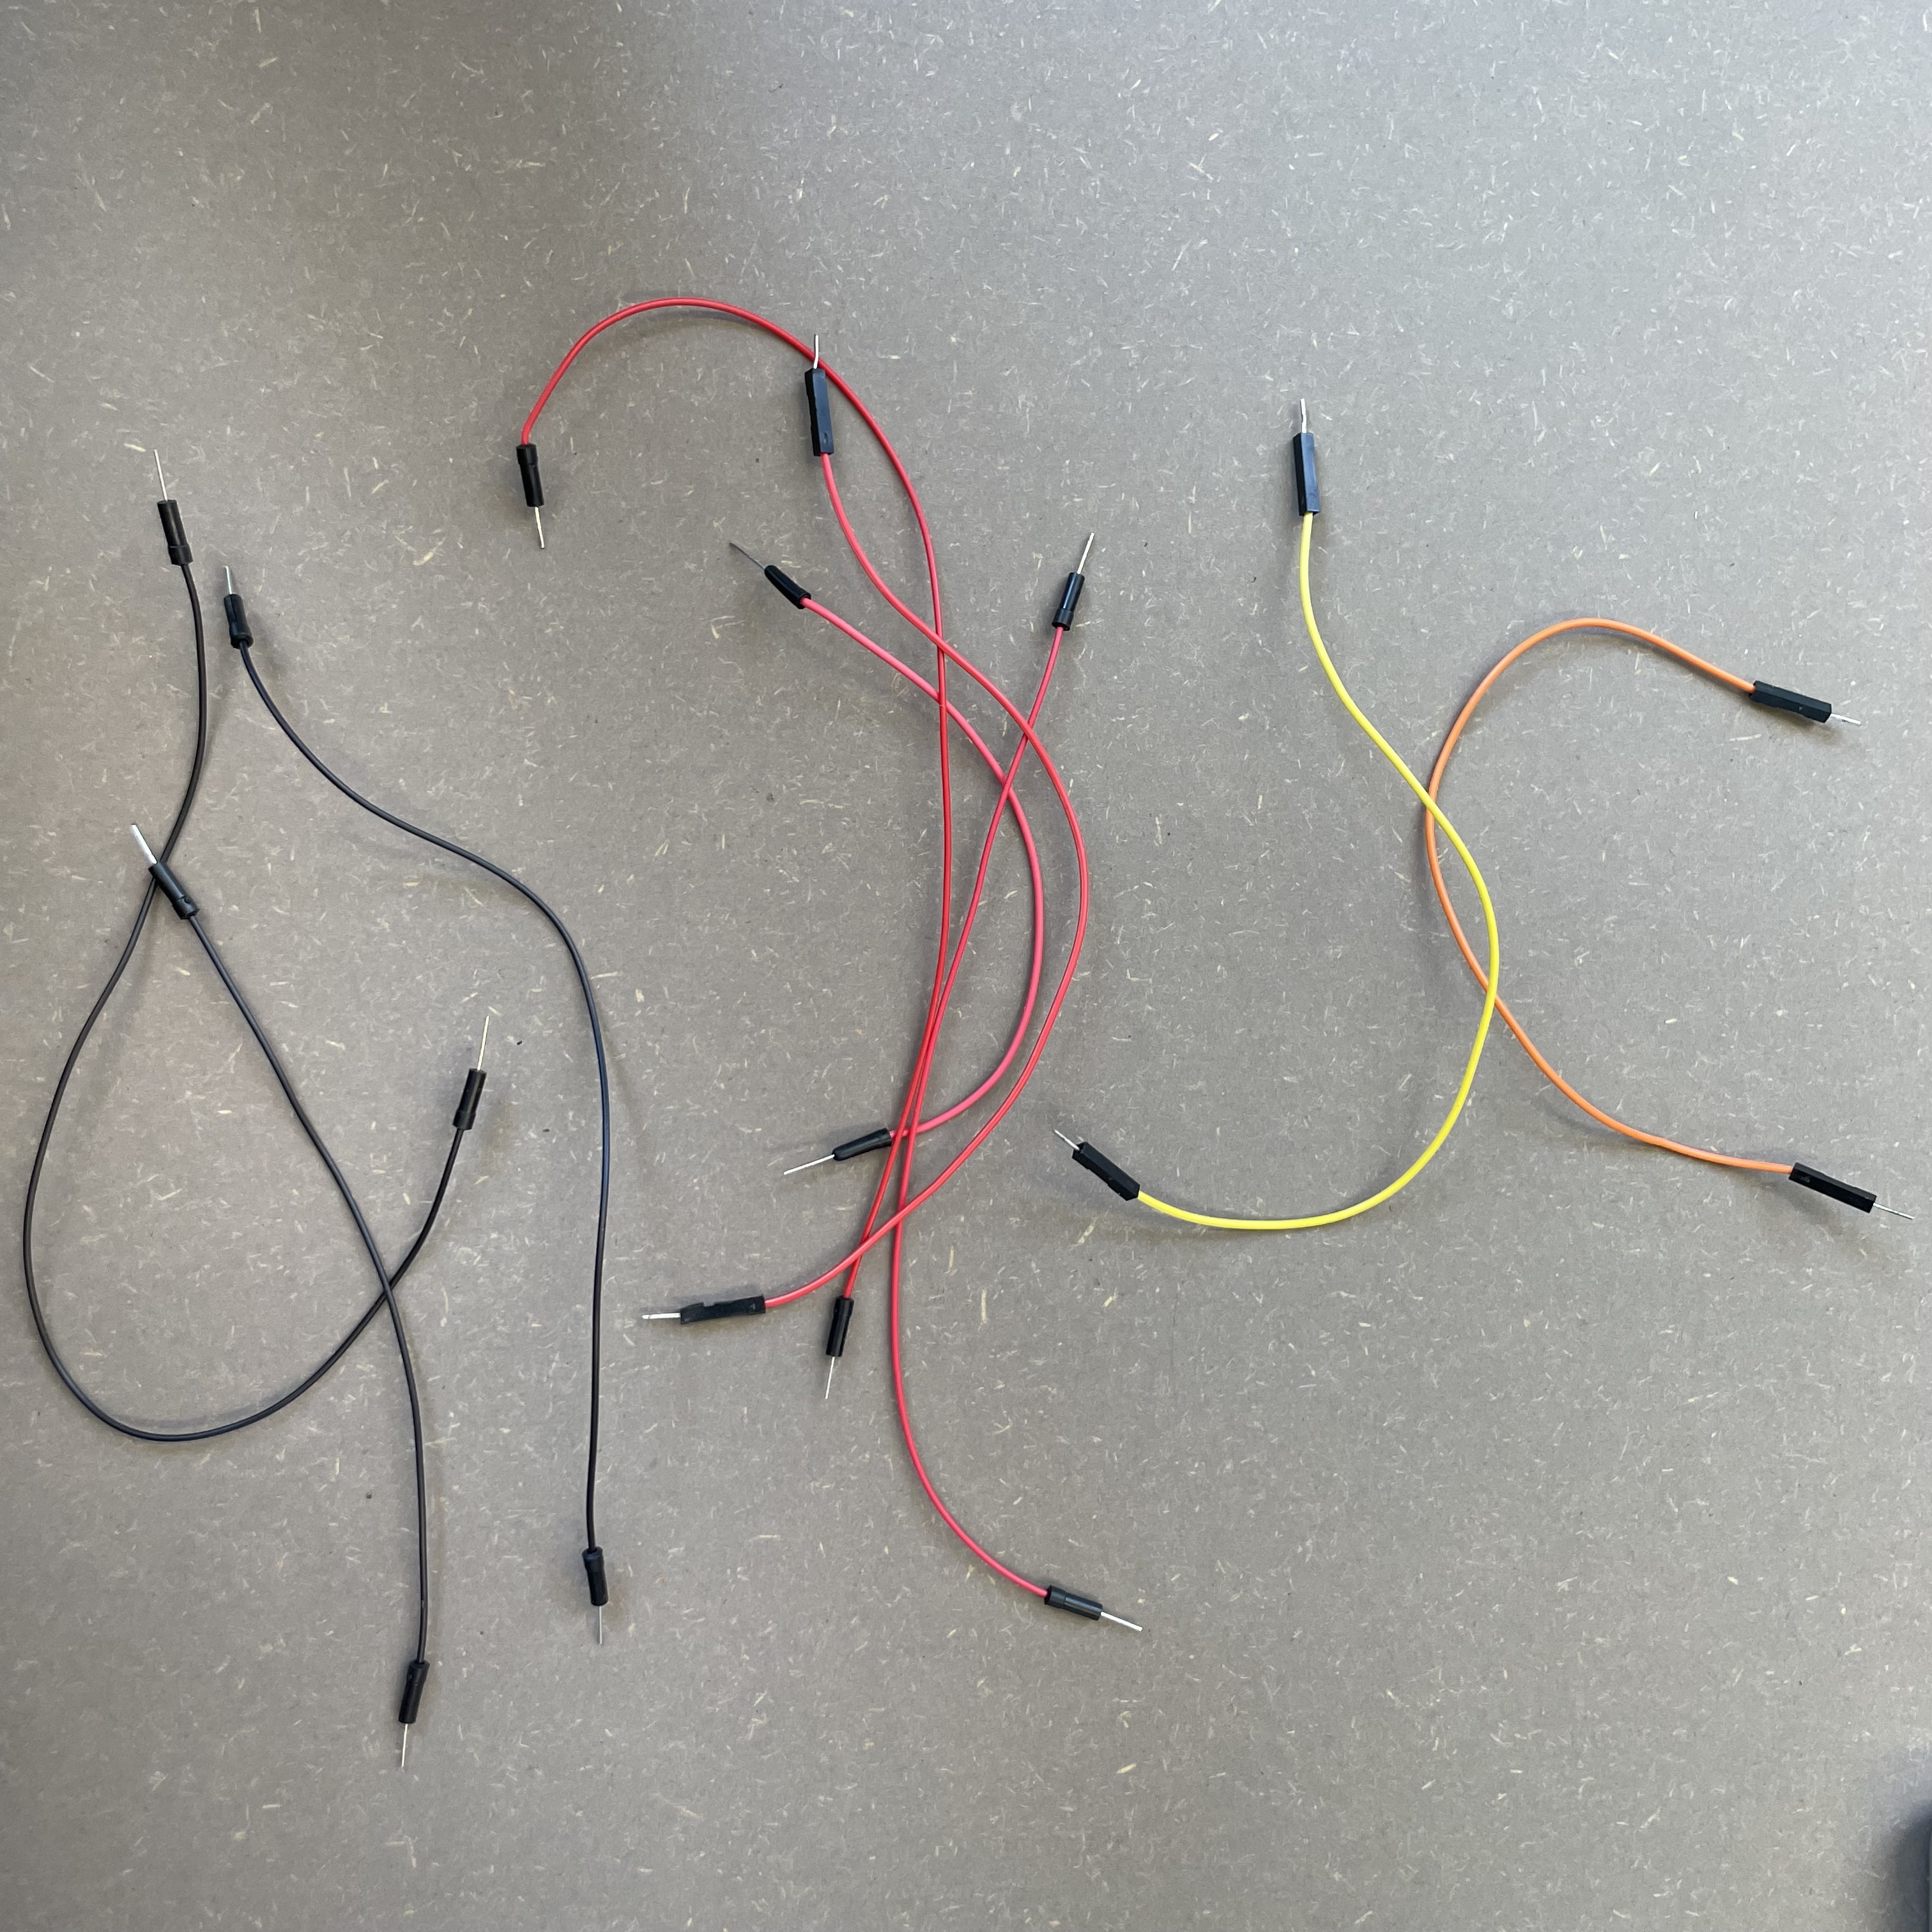 Jumper Wires
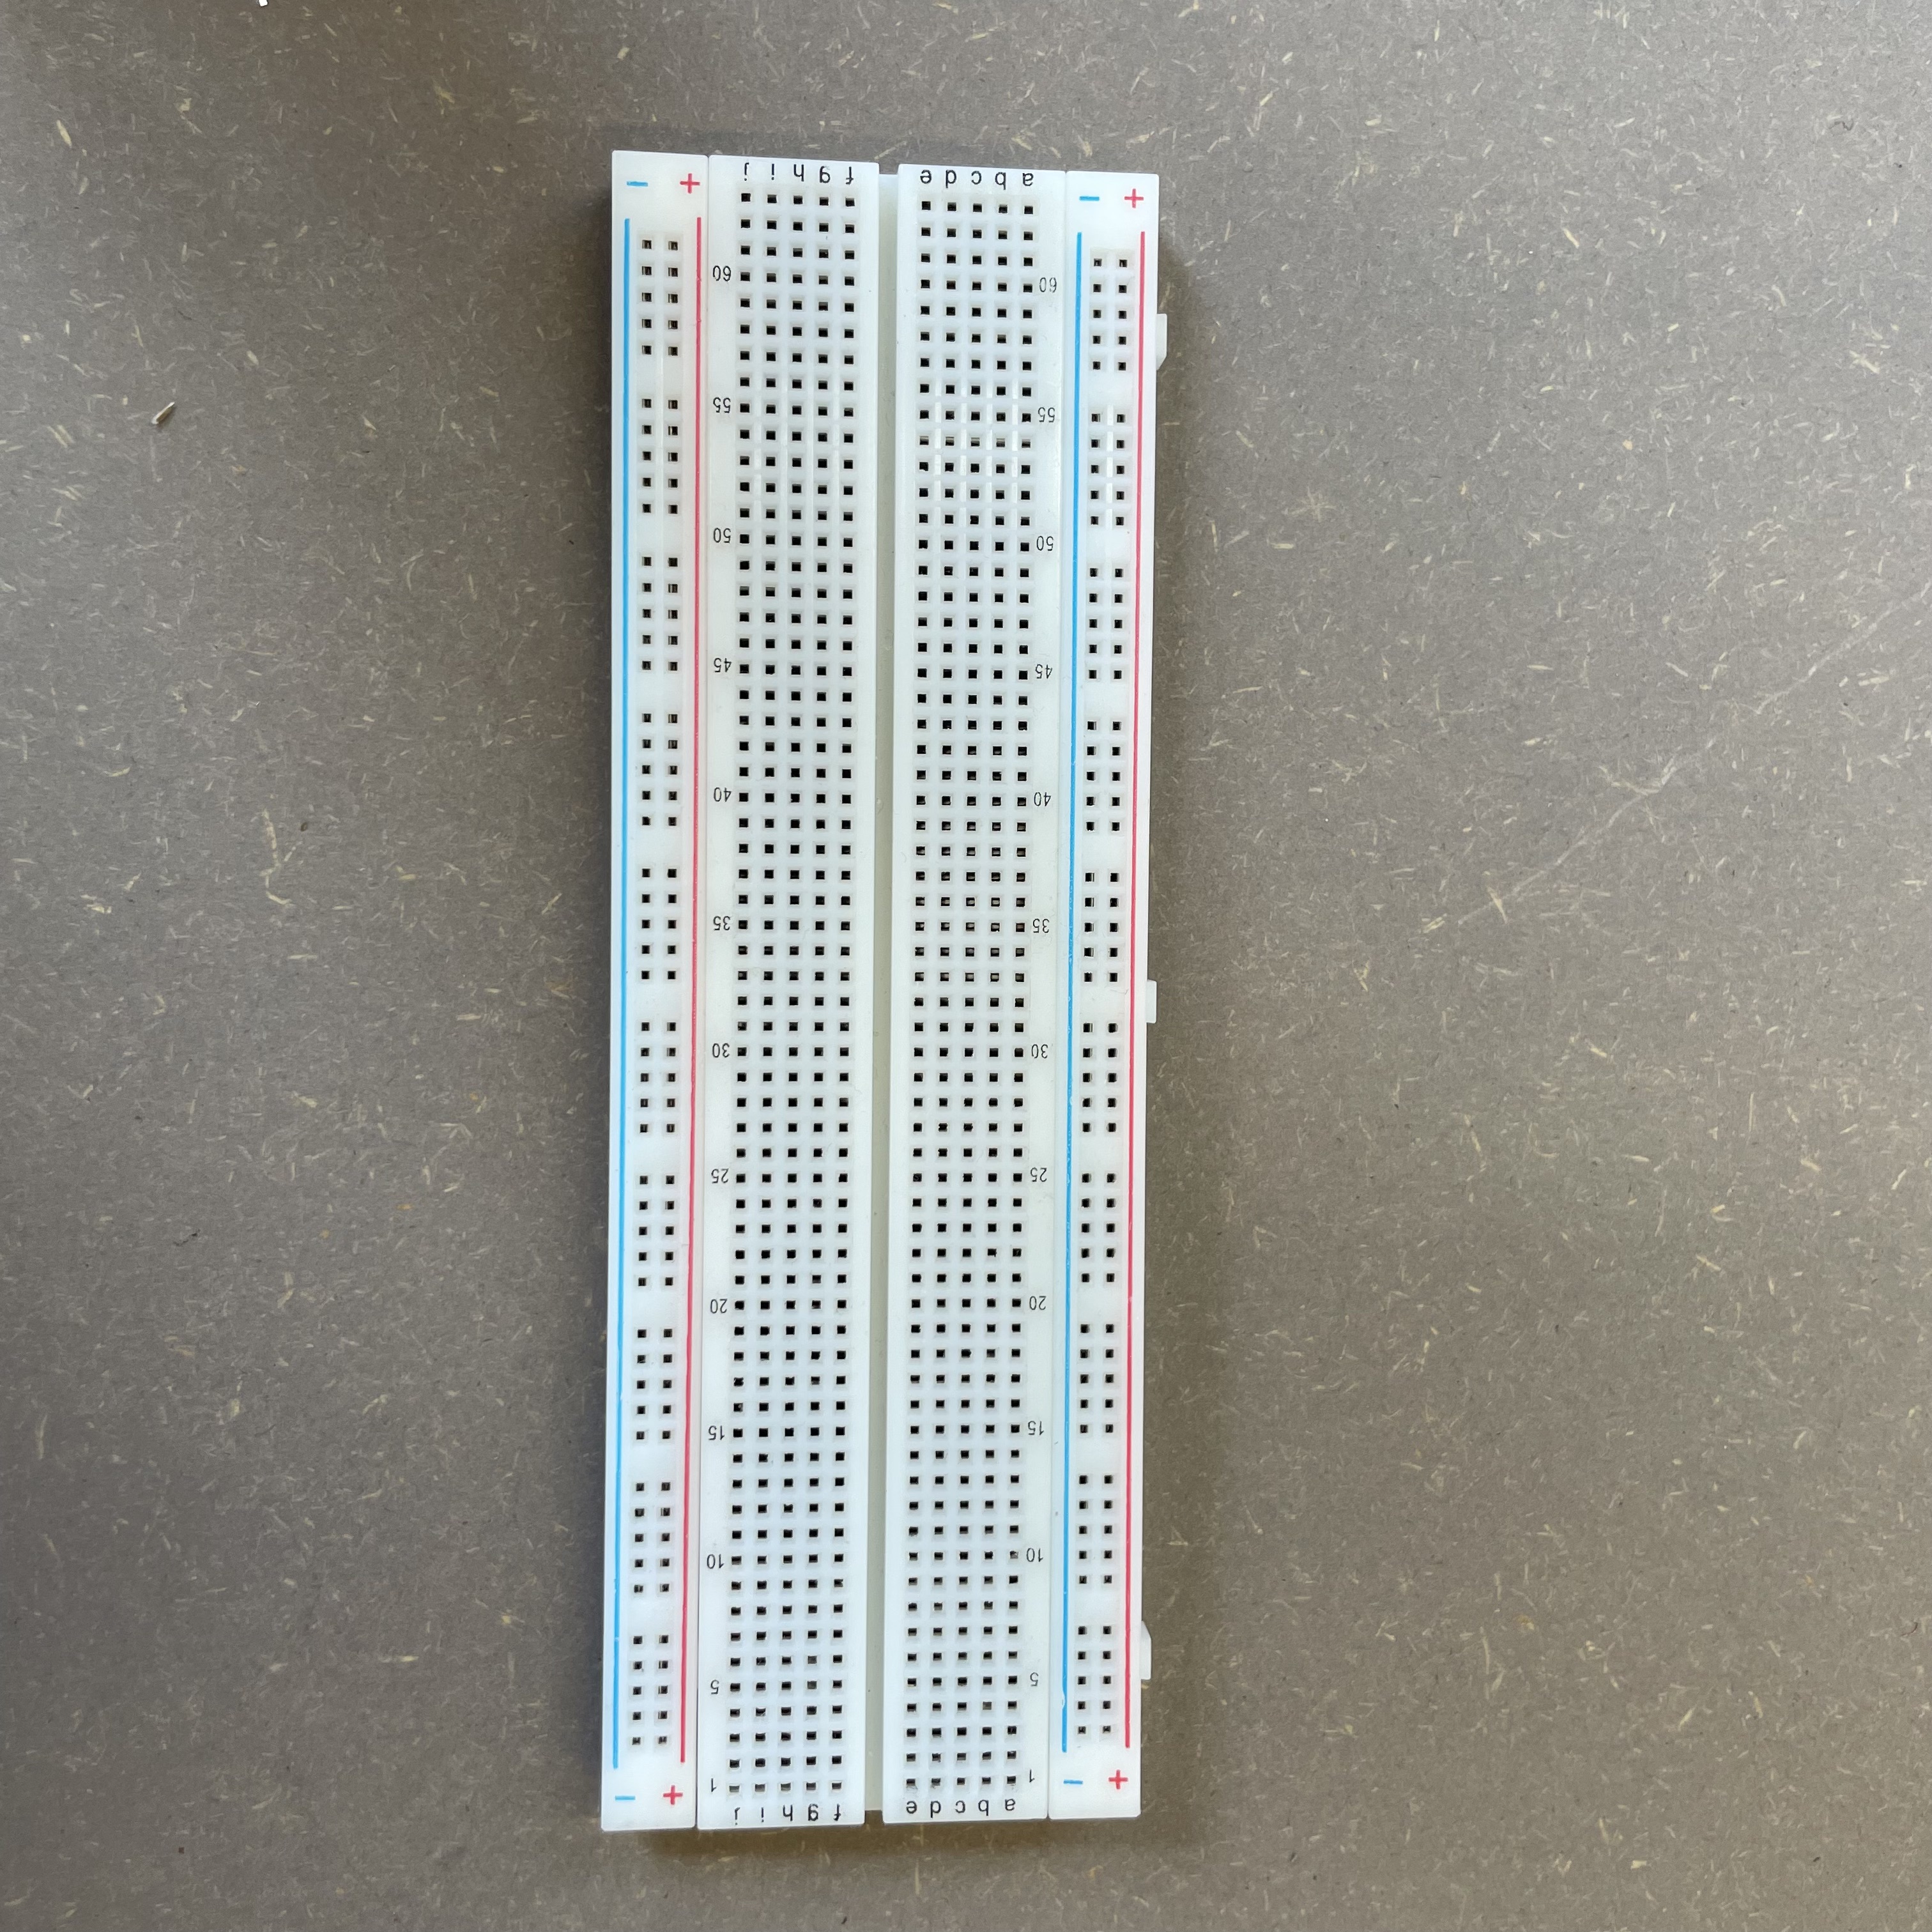 Breadboard
Hardware Setup
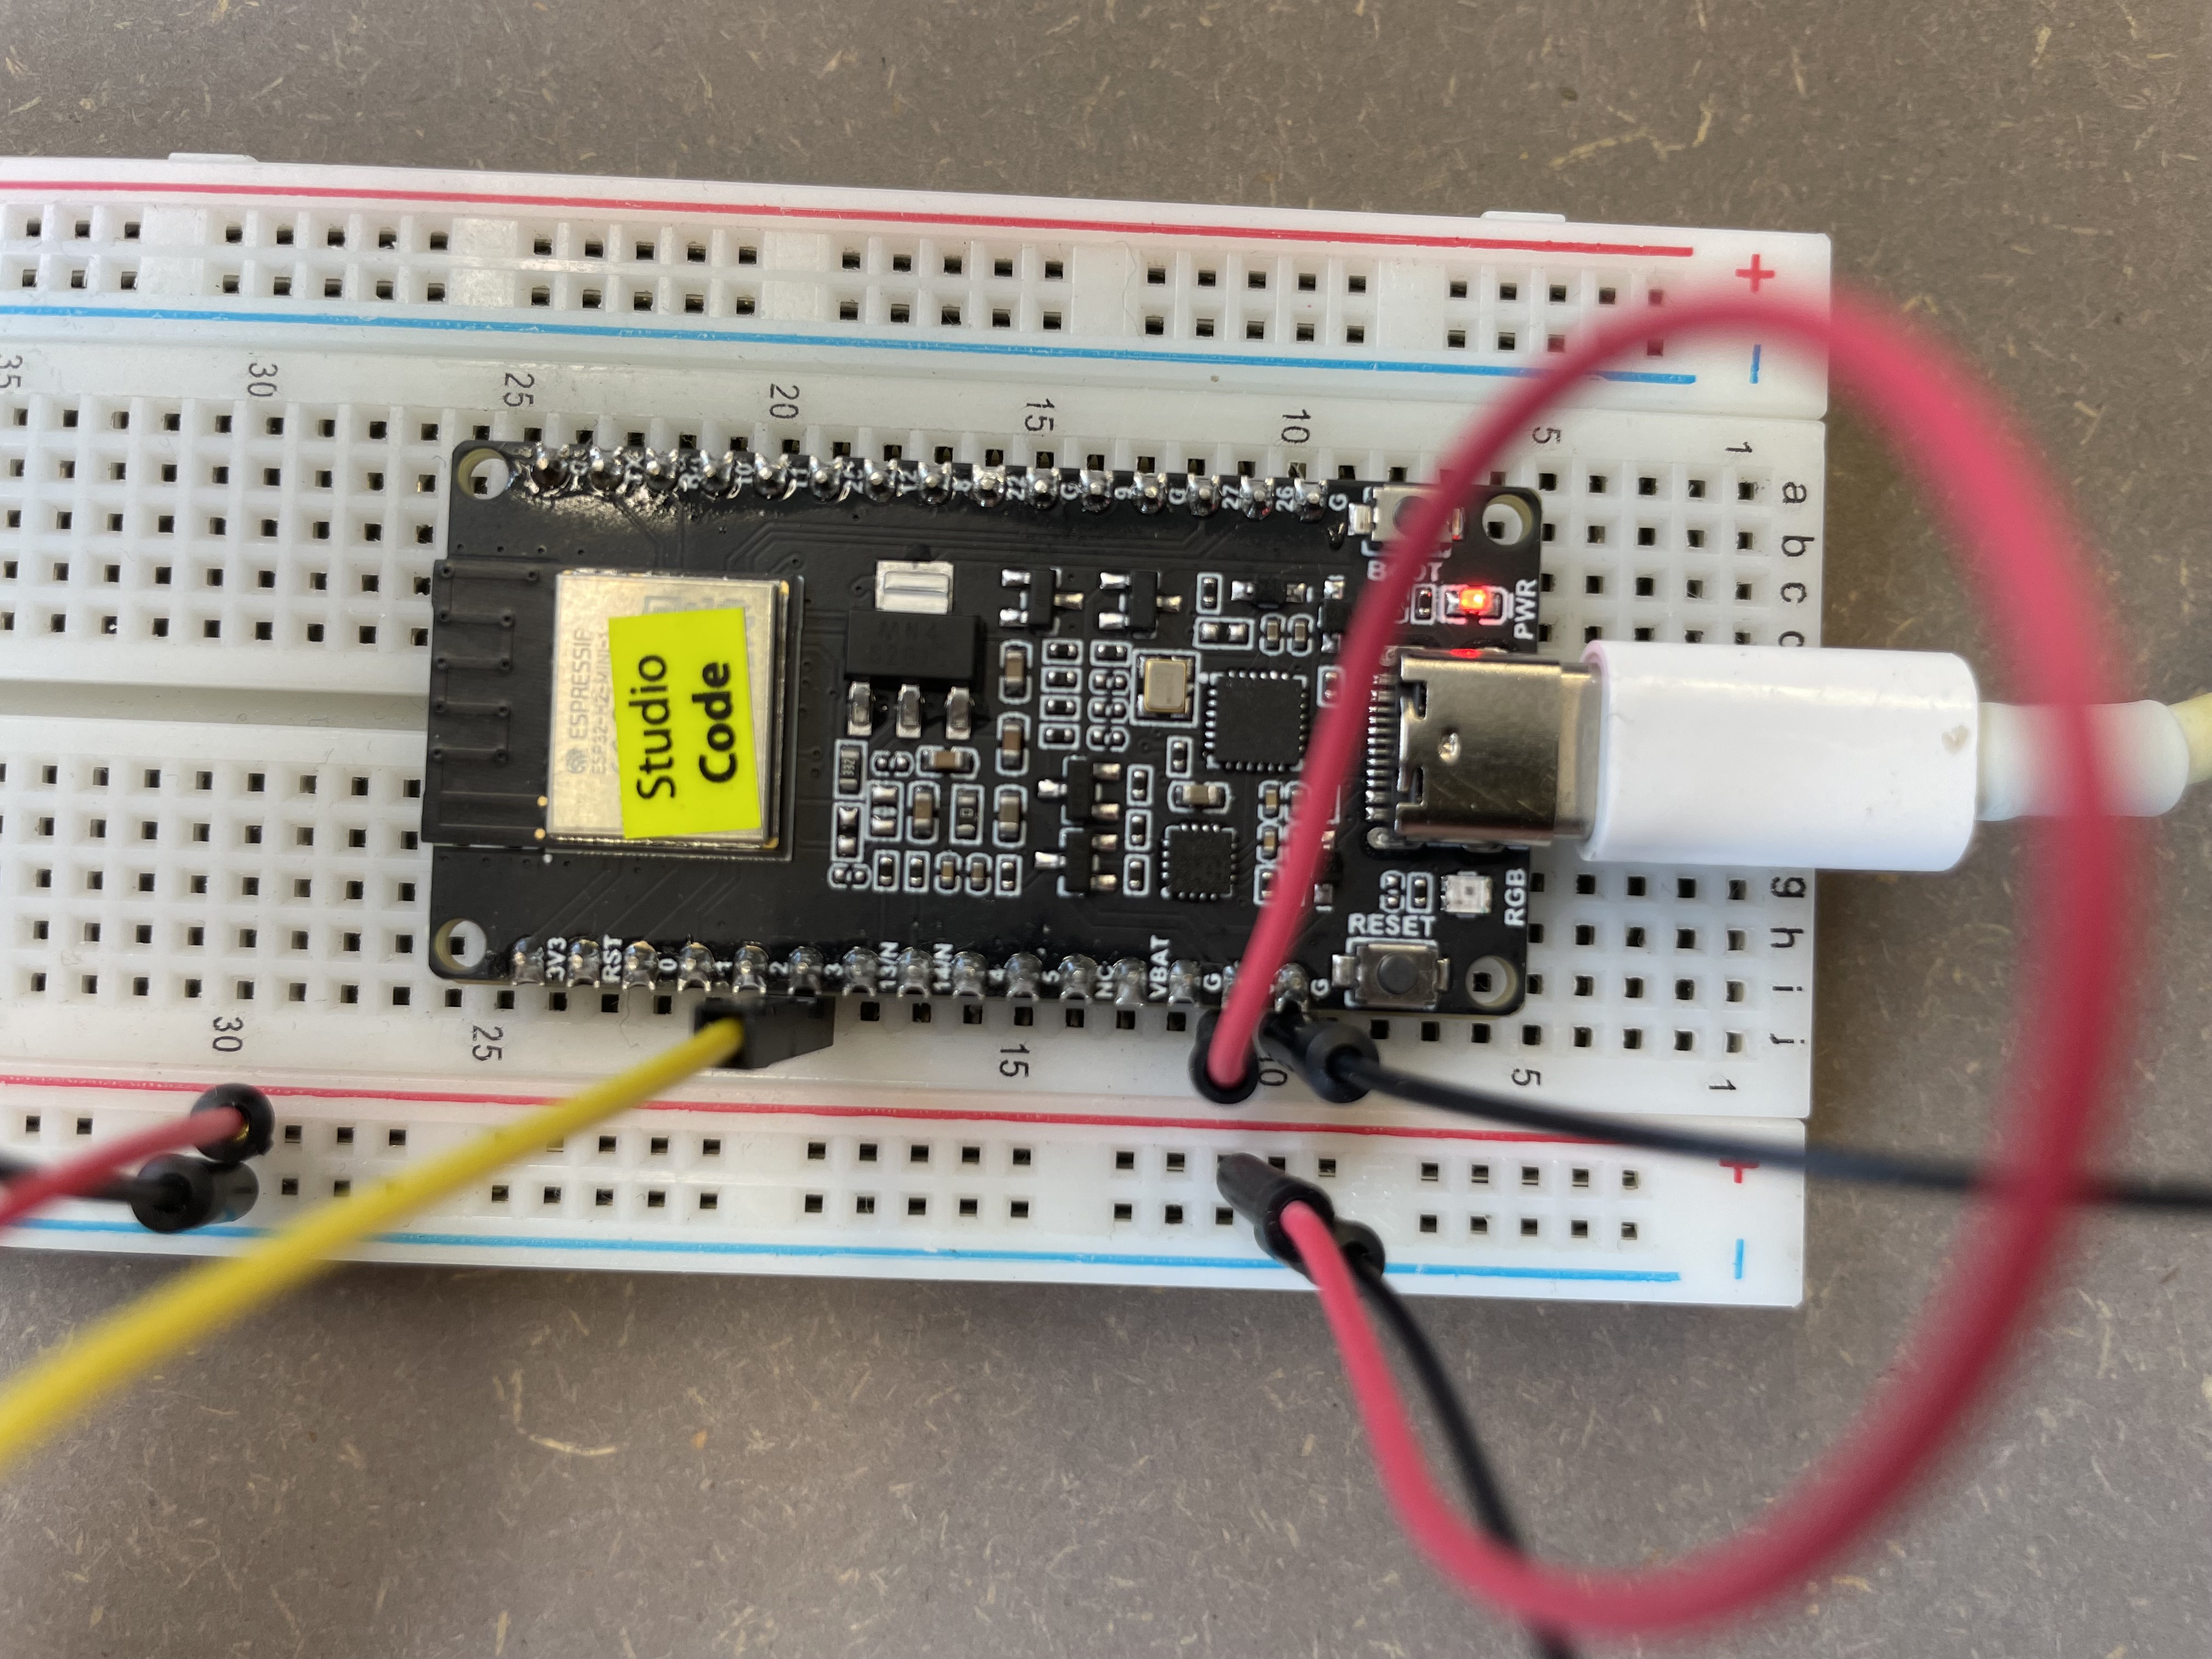
- Connect your Esp32 to a breadboard
- Power your Esp32 via your Laptop
- Connect your Moisture Sensor to your Esp. The yellow cable should connect to an Analog pin
- Spread your Transistors legs into three different rows.
- Connect the Transistors middle leg via a Resistor to a different row on the Breadboard
- The orange cable you see in the photo below should now connect your middle Transistor leg via the Resistor to an Output pin on your Esp32
- Connect the left leg of the Transistor to your power supply
- Connect the right leg of the Transistor to your Pump
- Connect the black cable end of your Pump to your GND
- OPTIONAL: If you're a pro and do not mind putting in some extra work you can also attach an LED to your project so you always know when your friends plant needs water.
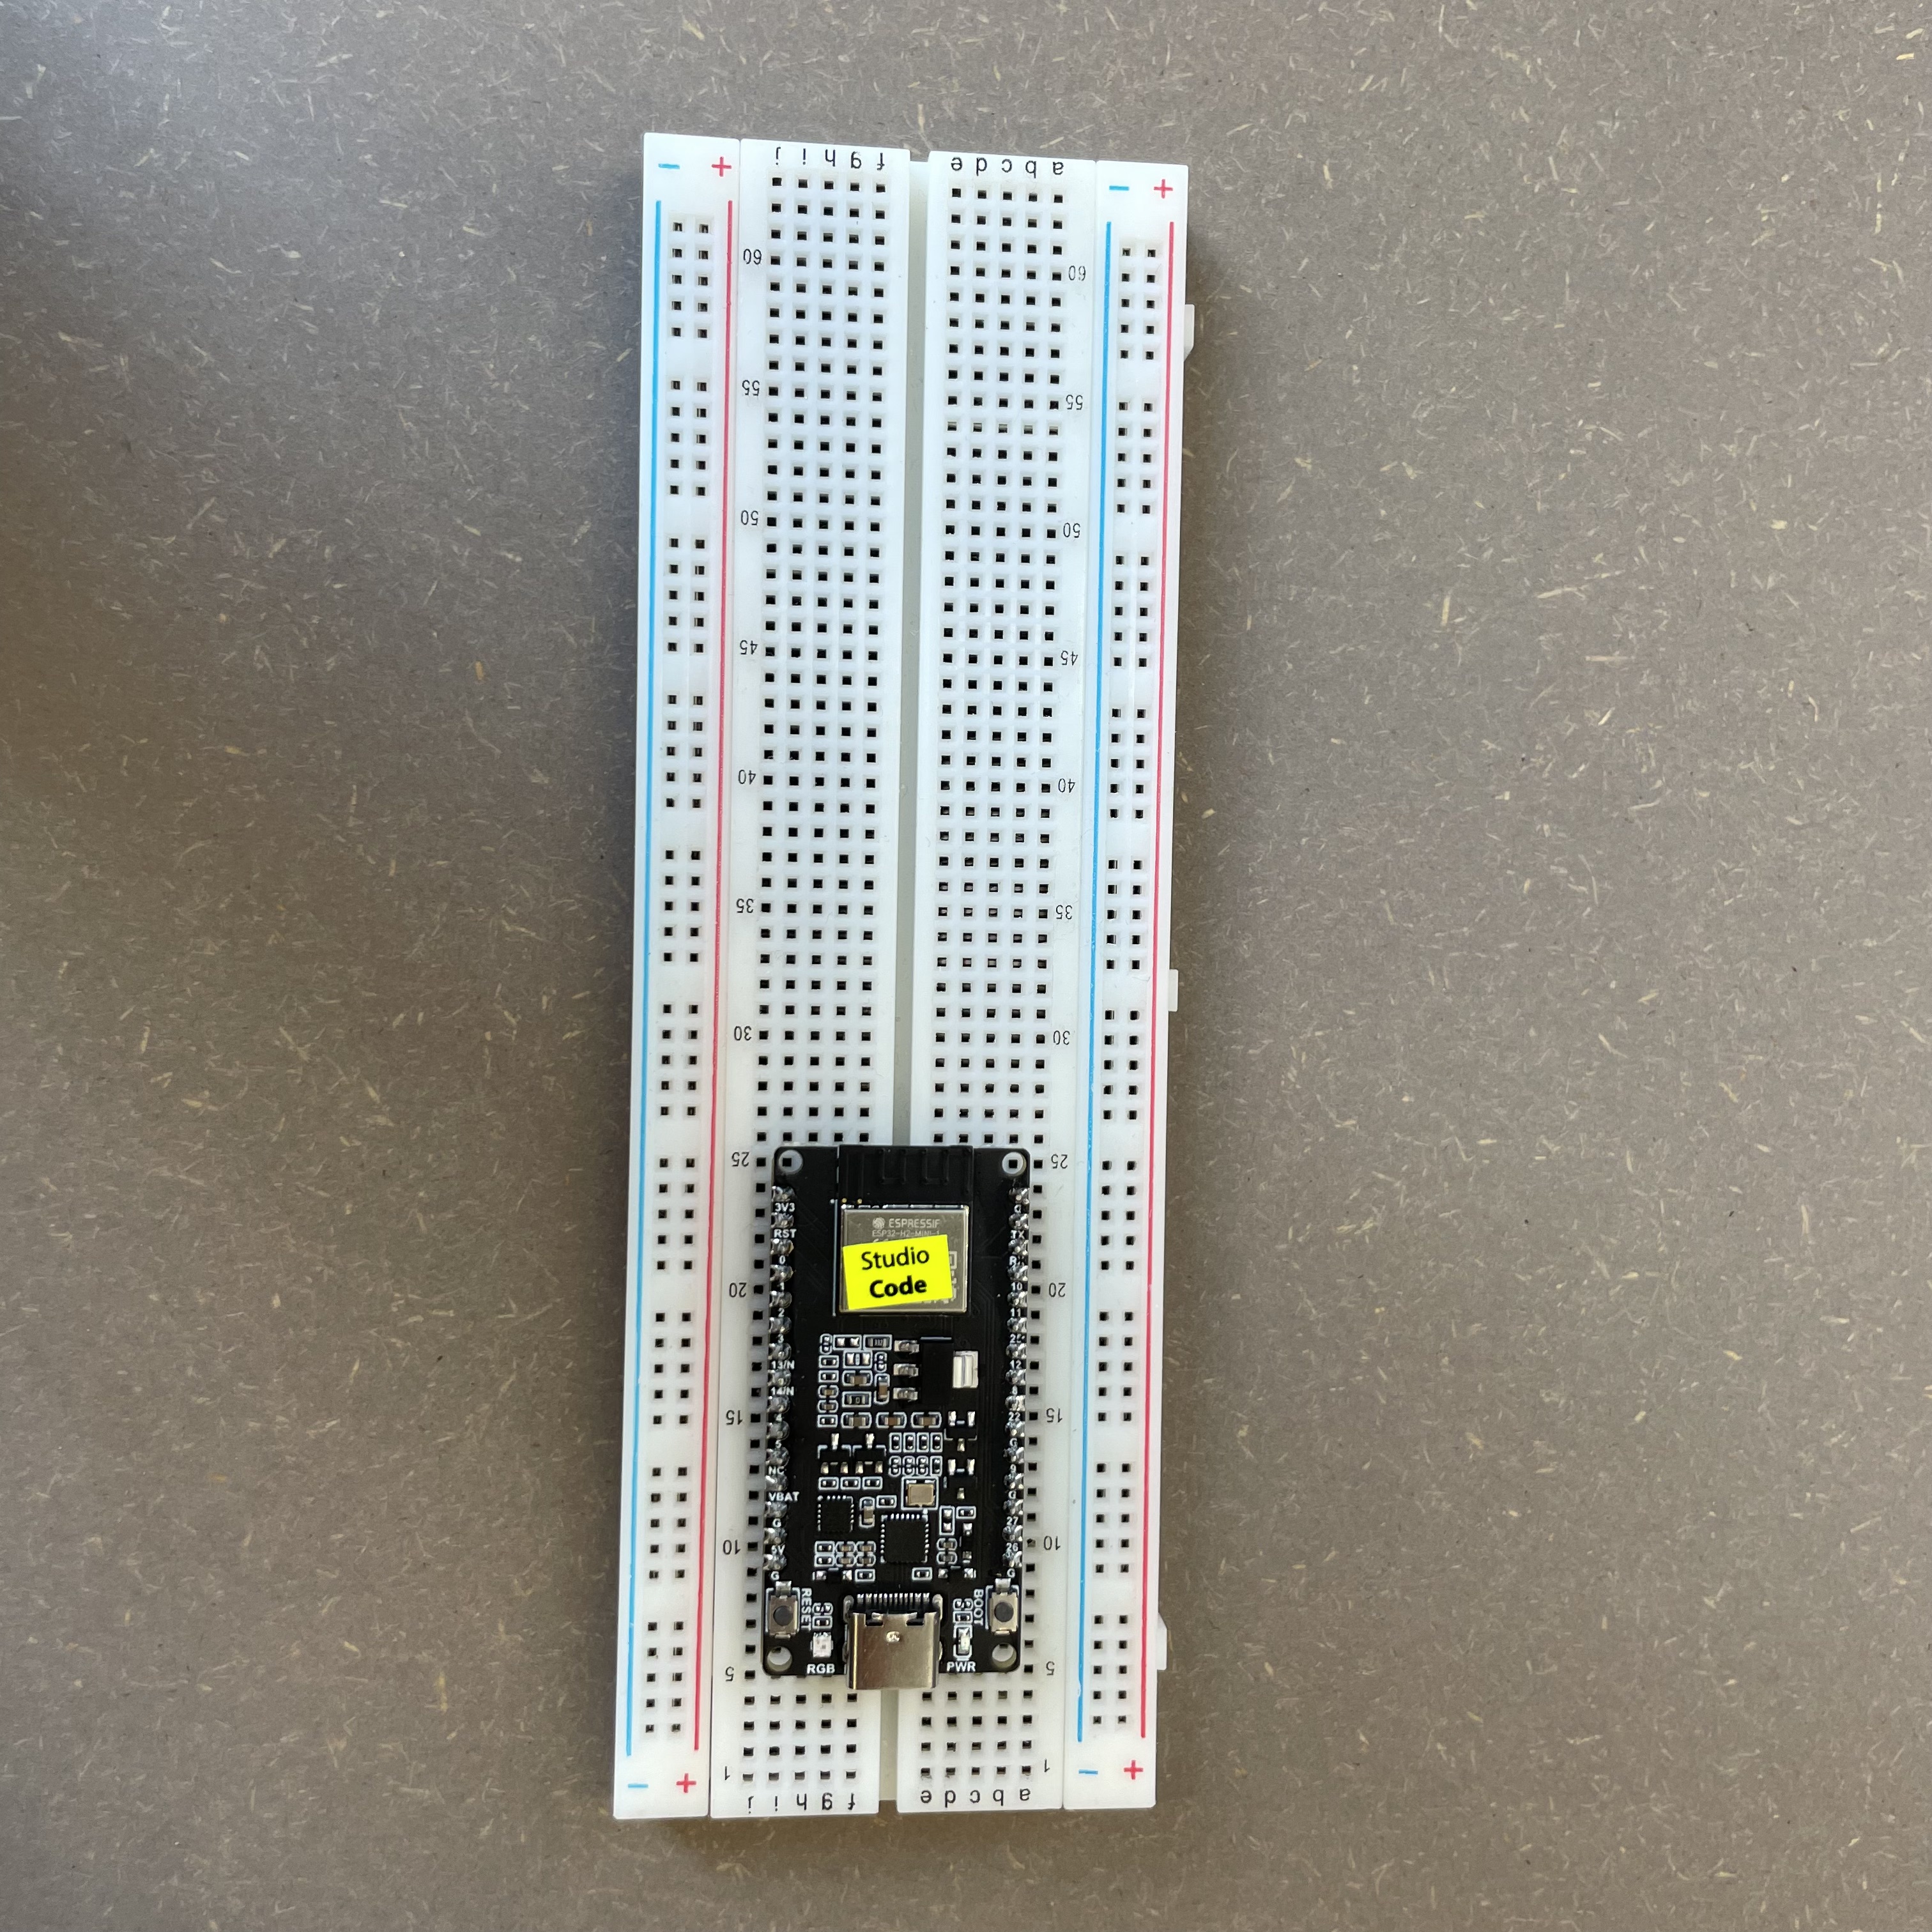 Connect ESP32 to Breadboard
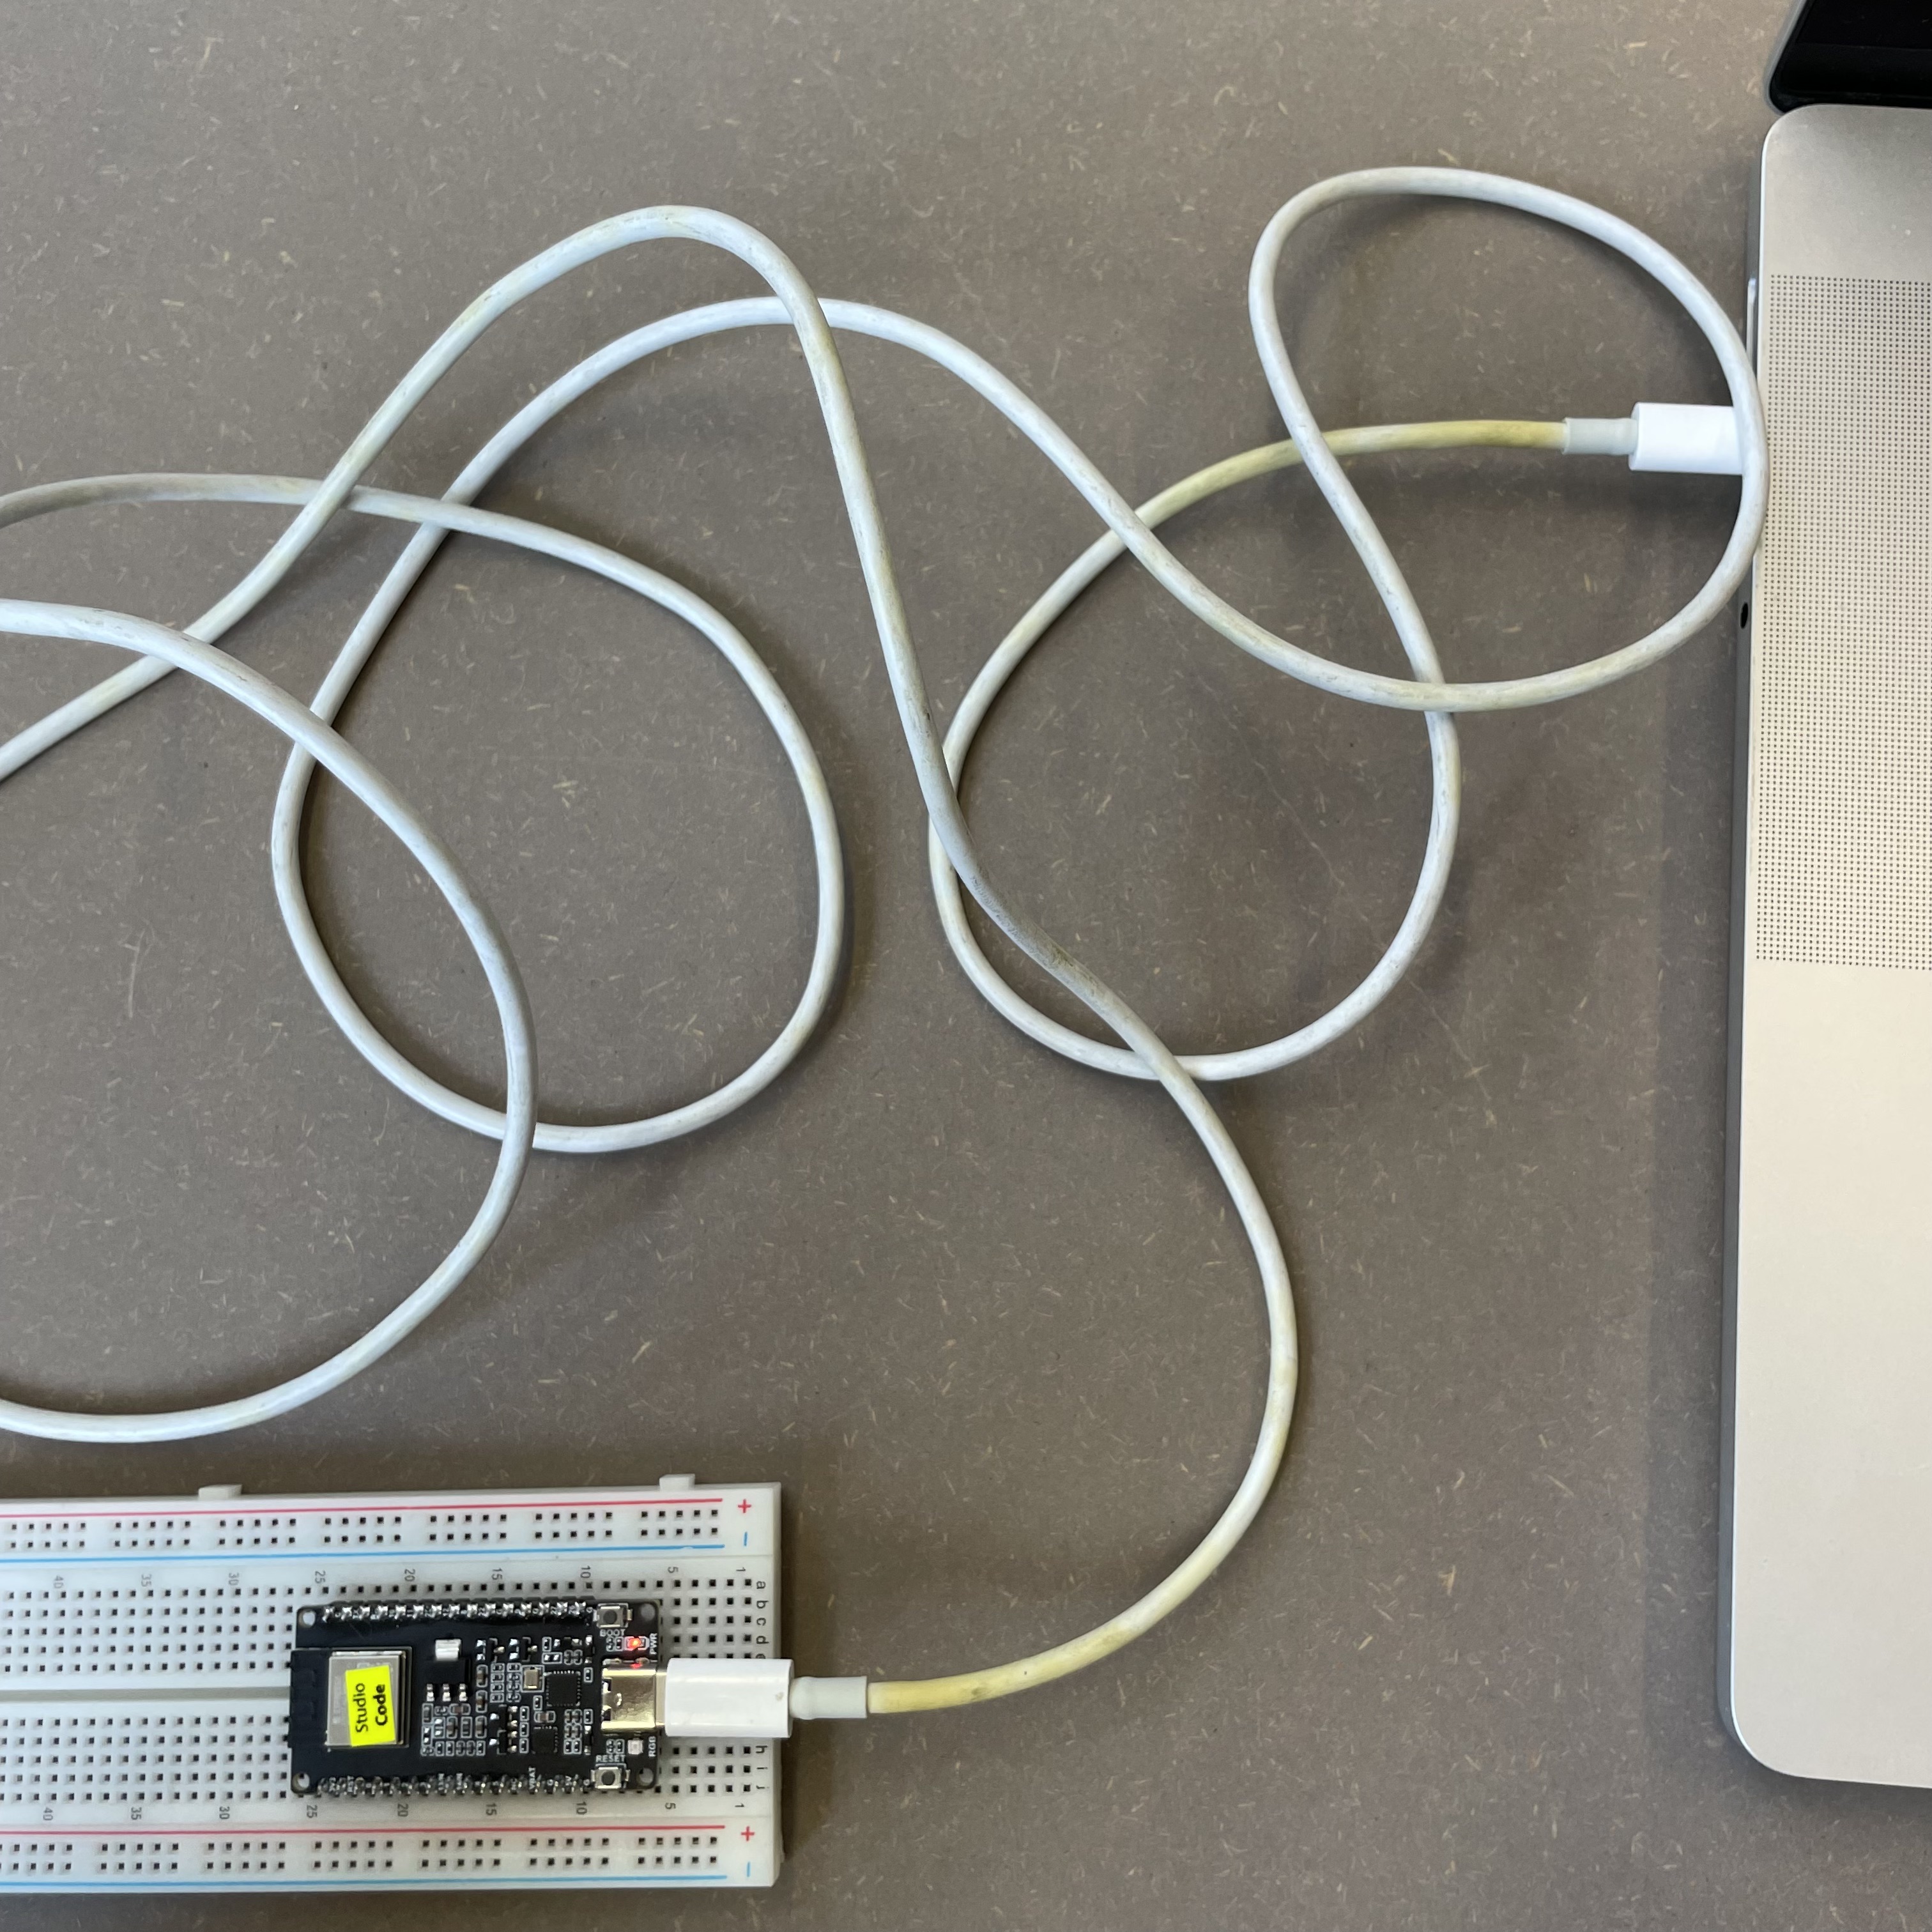 Power ESP32
 Attach Moisture Sensor
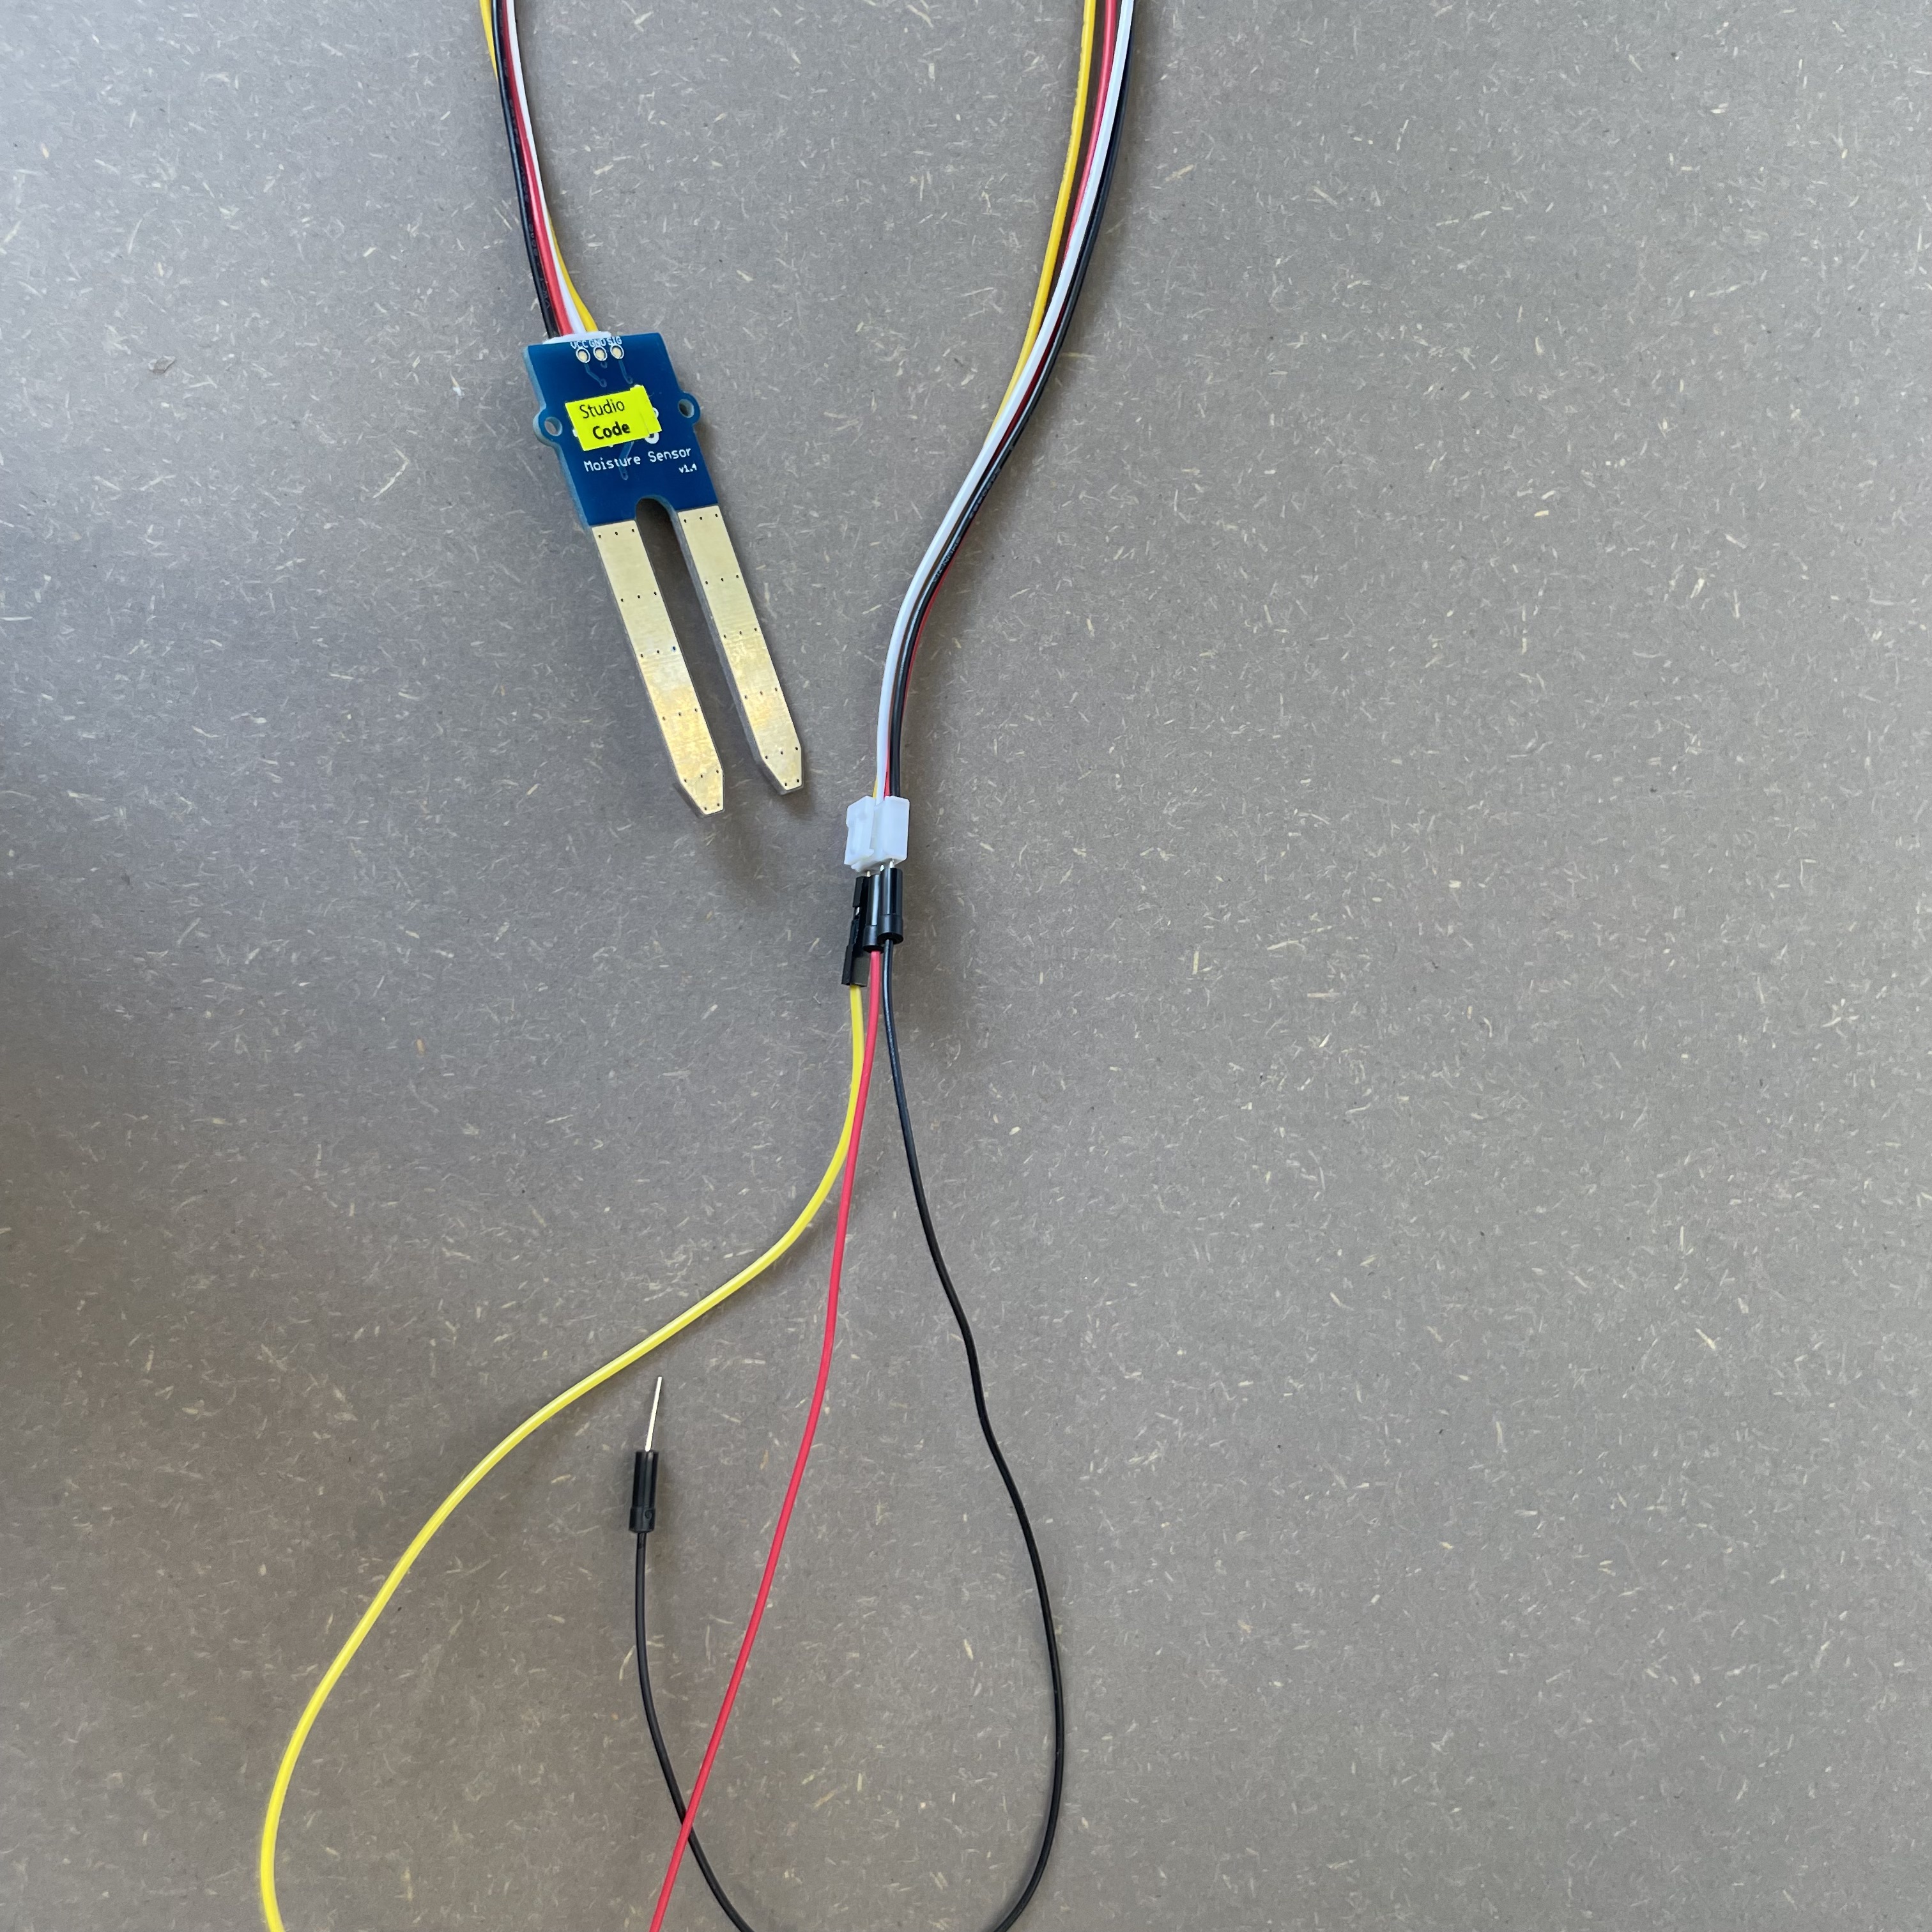 Connect to matching cables, leave out the white one
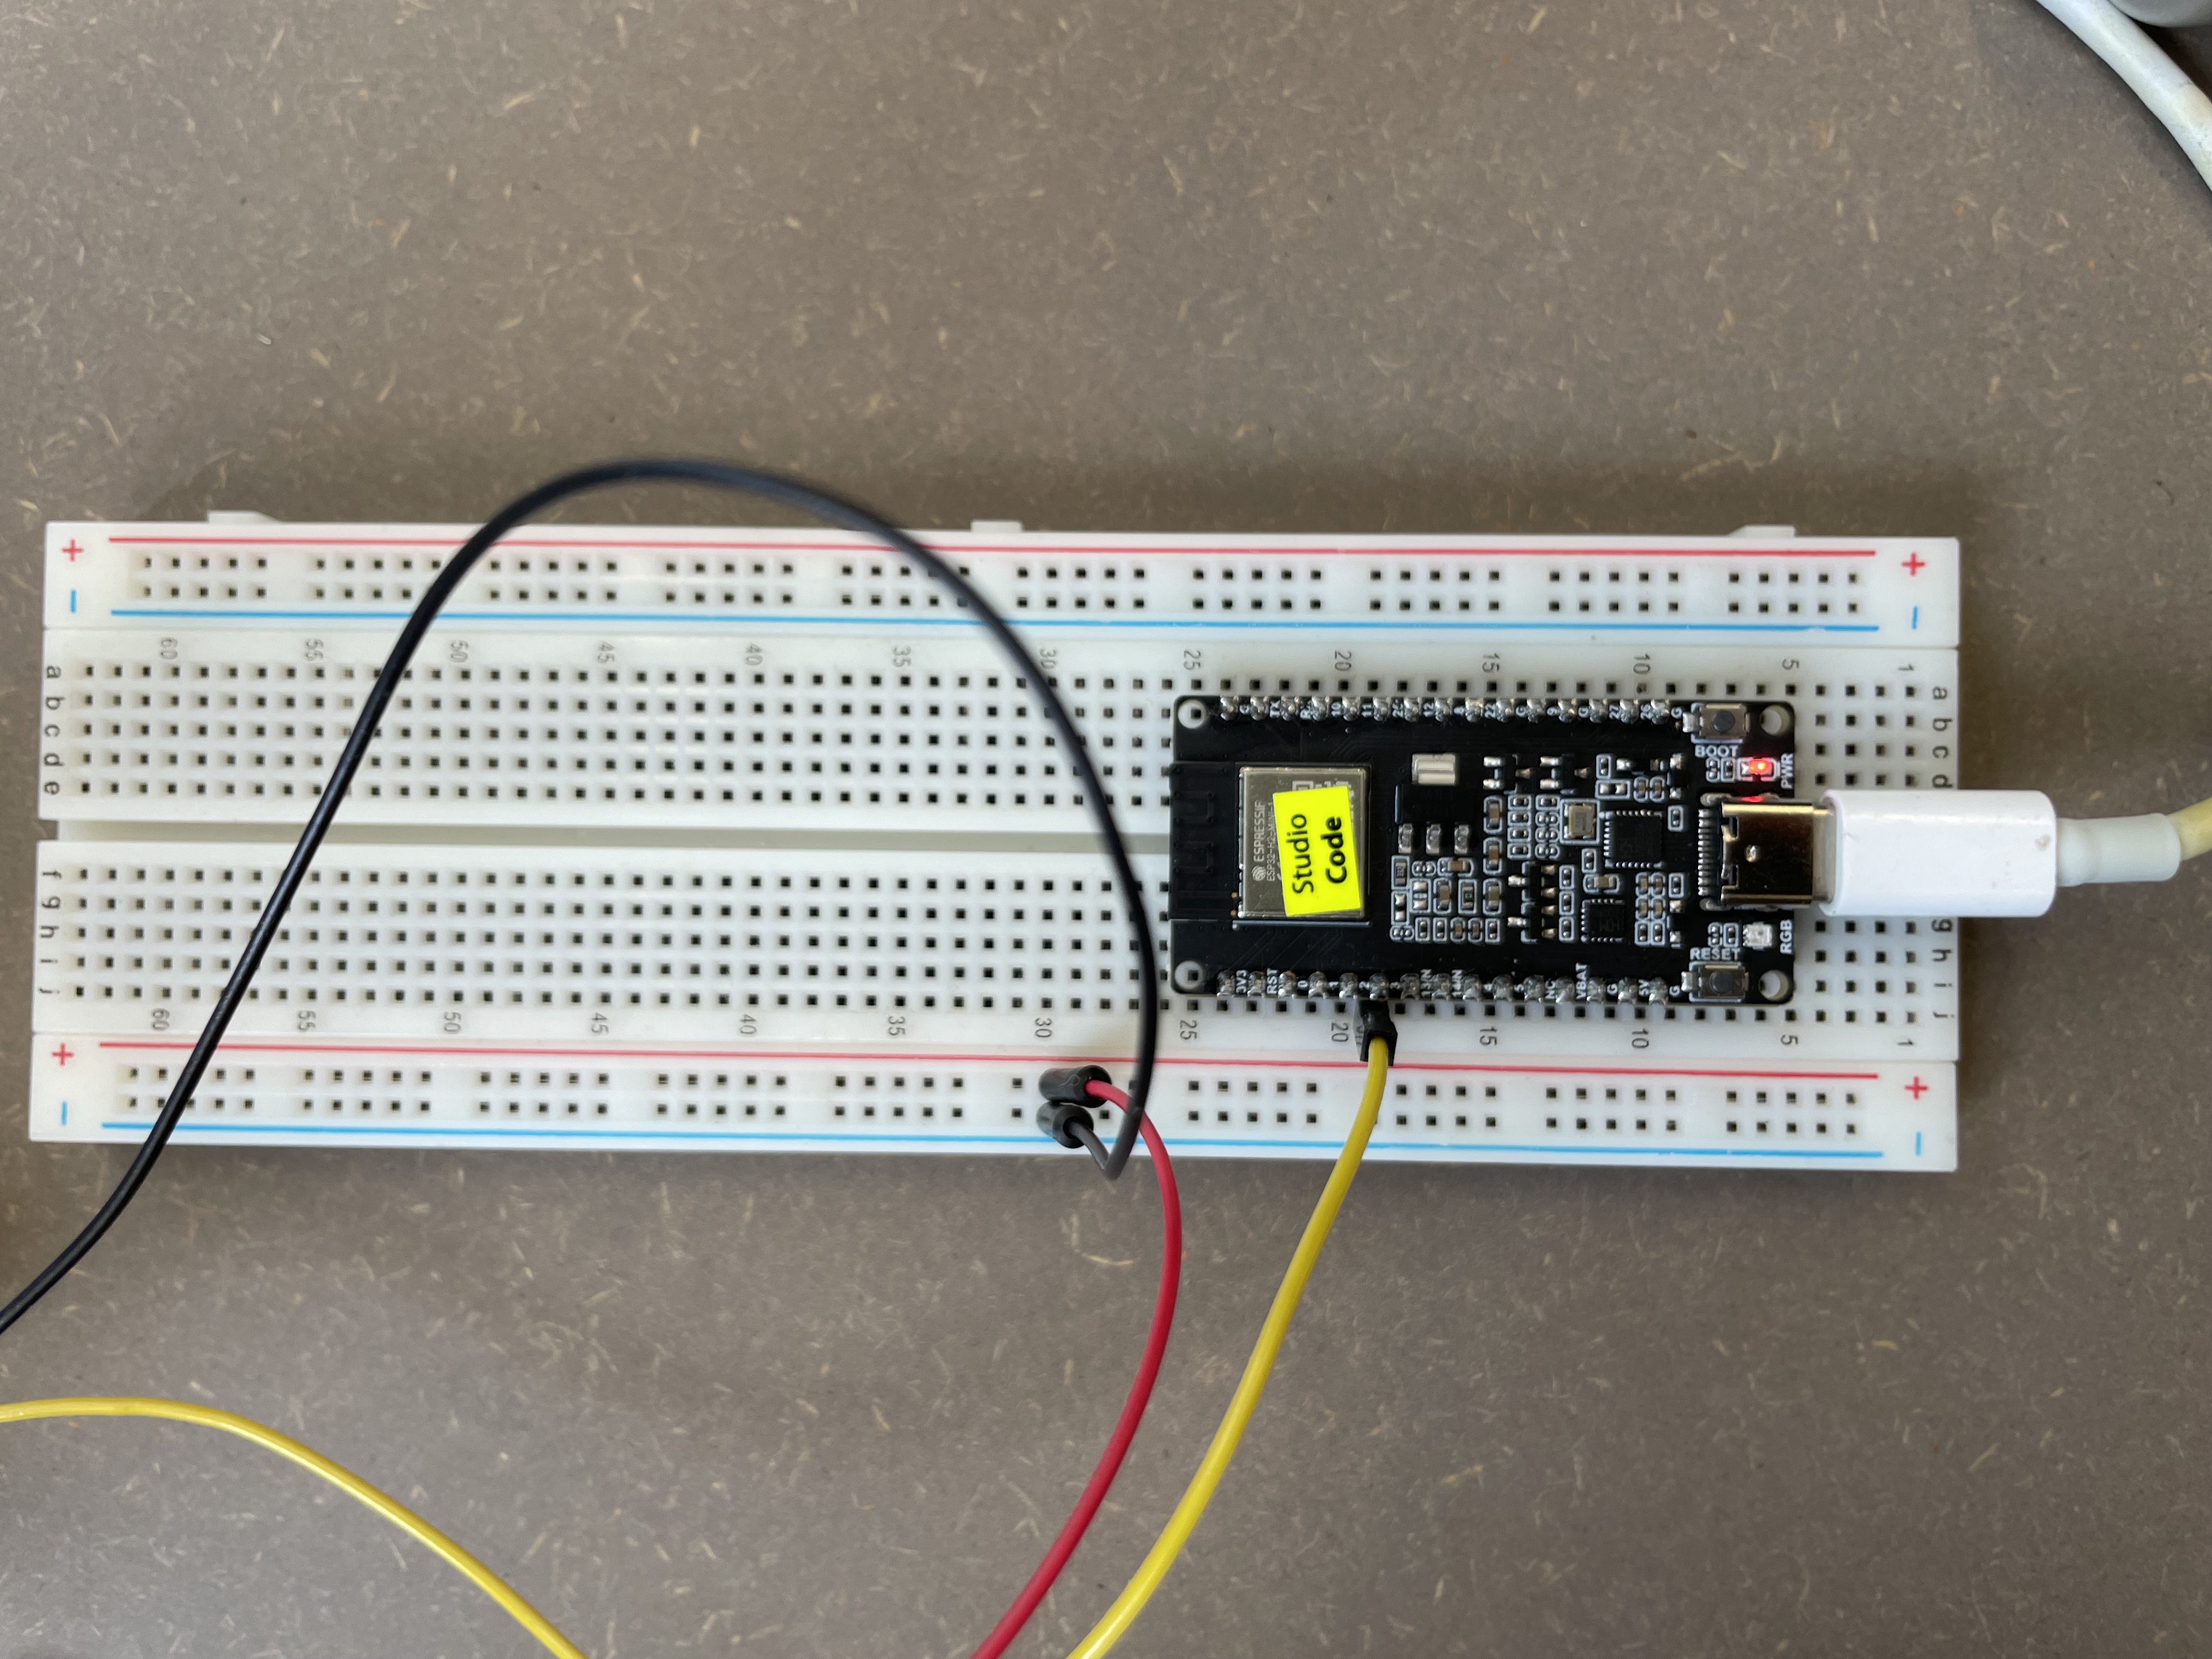 Connect the yellow cable to an analog pin, the power cables to 5vol and GND
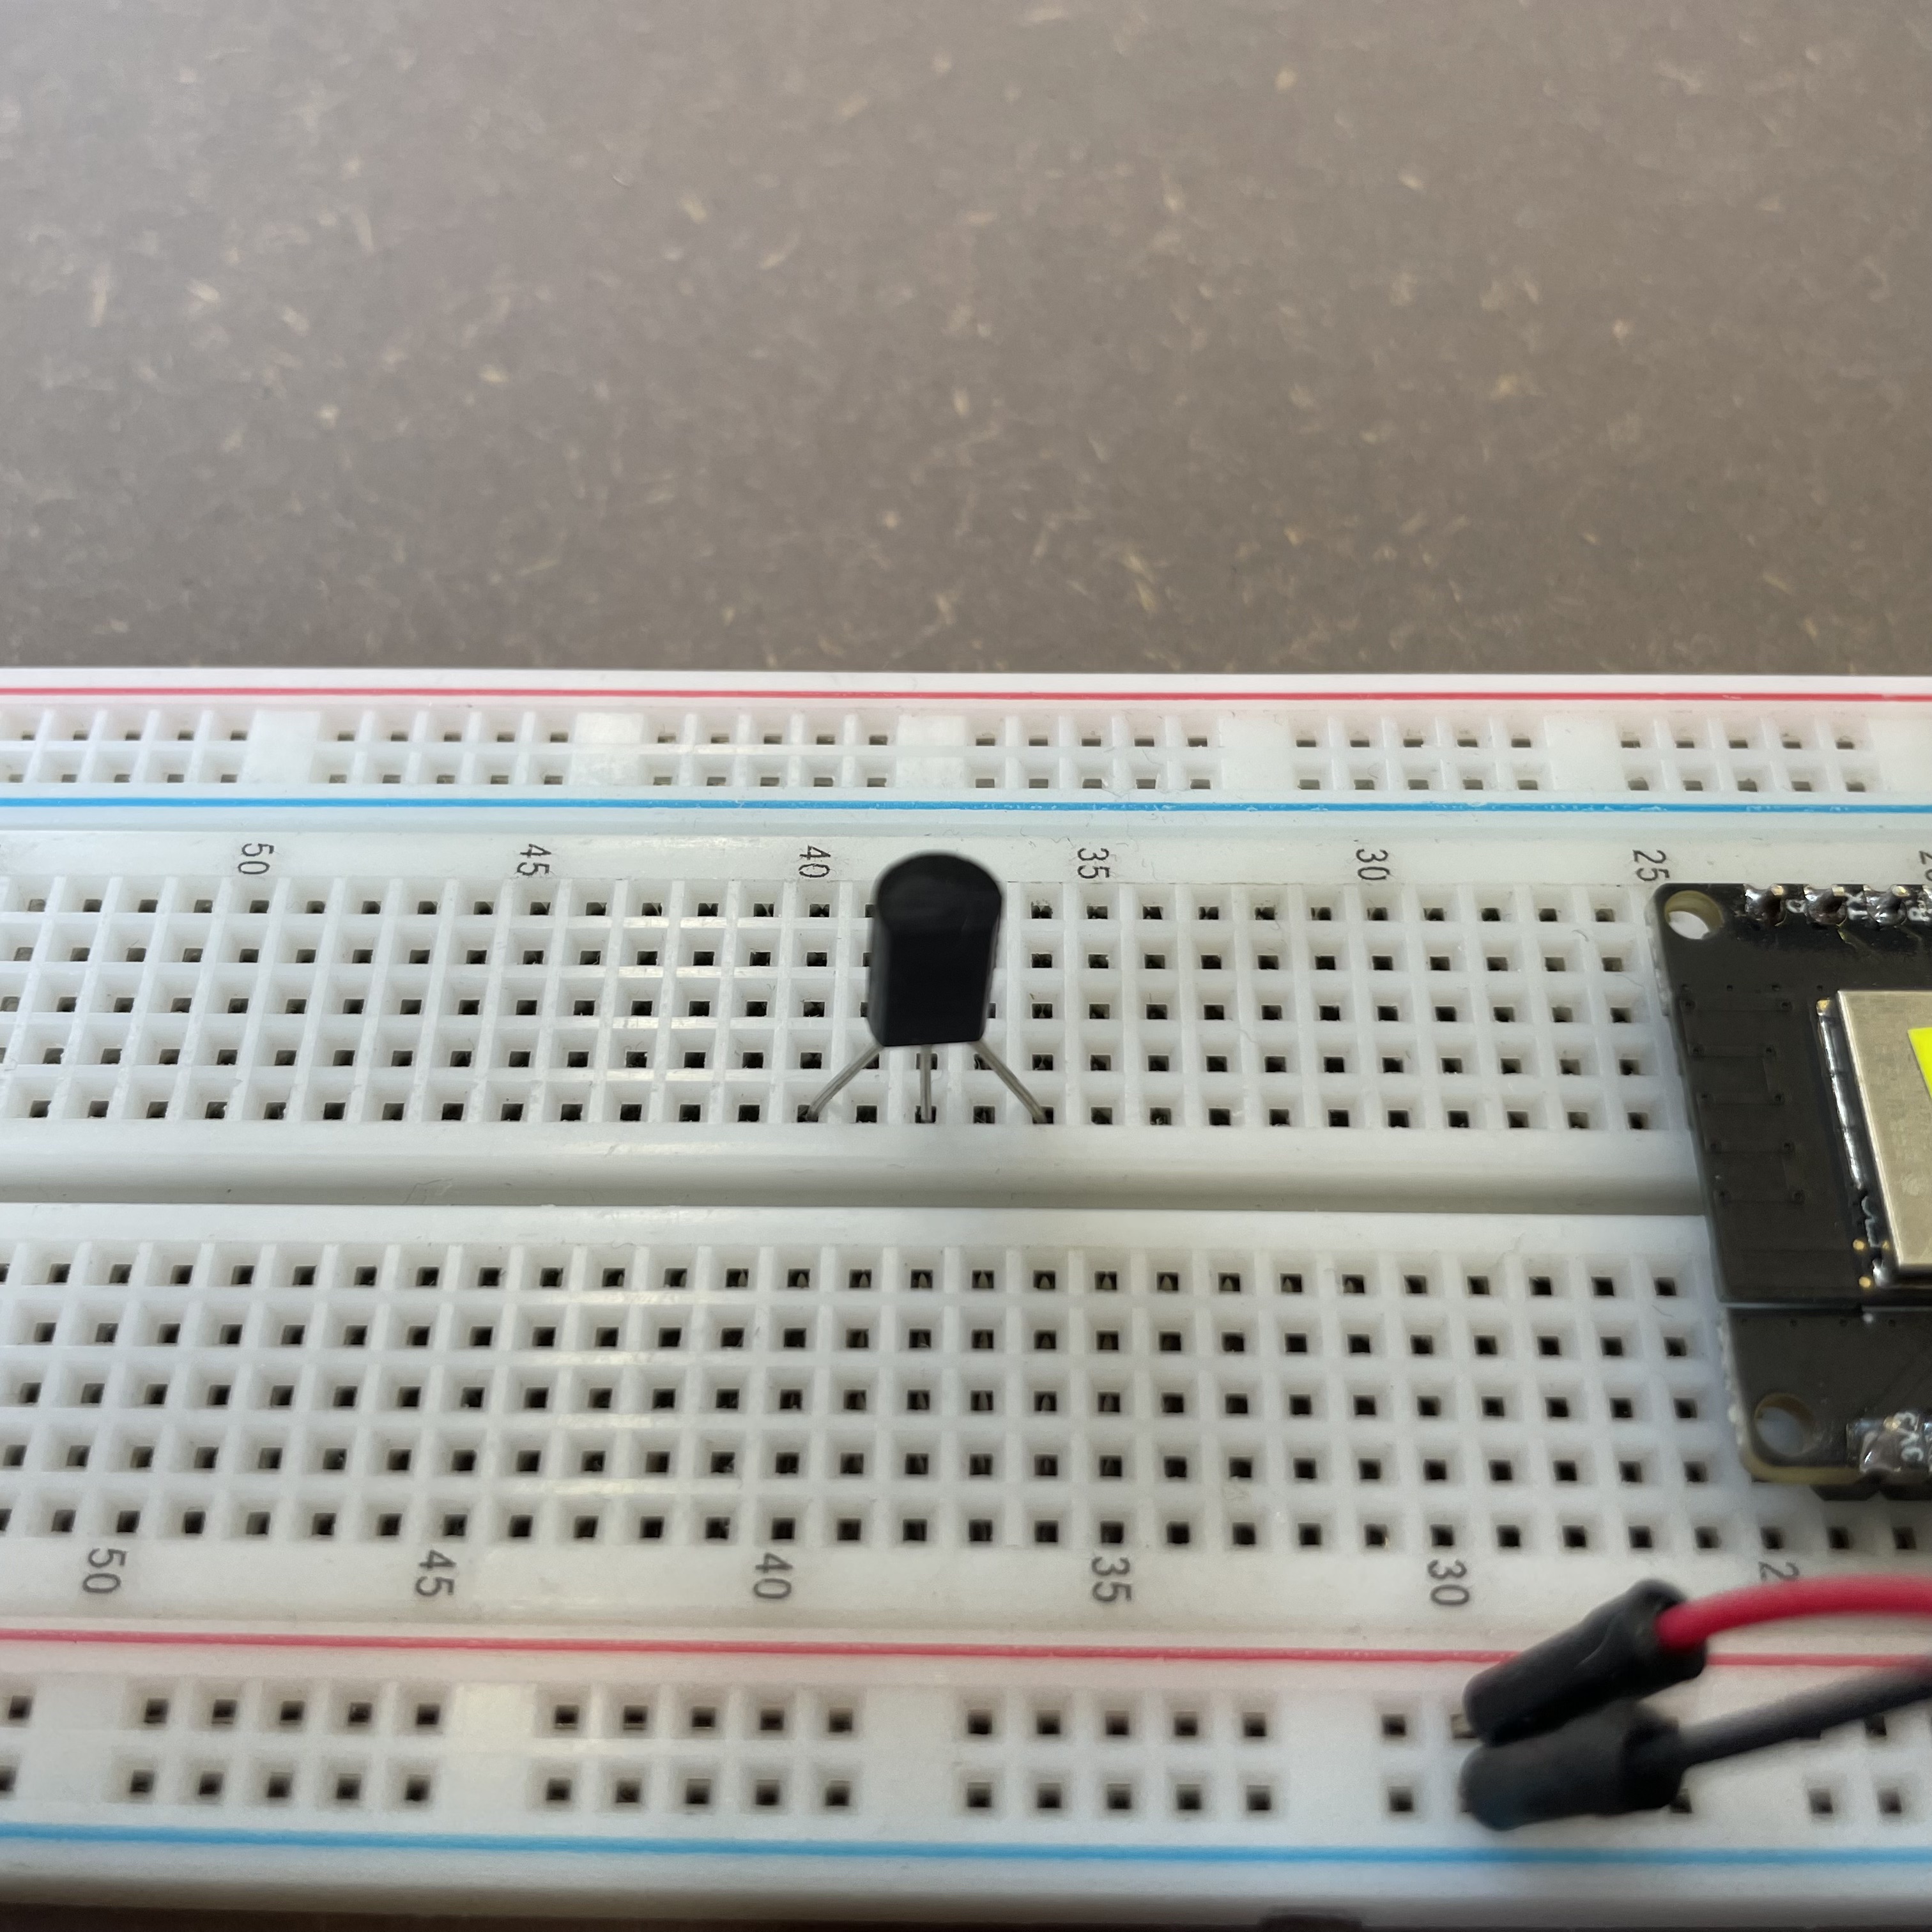 Split the Transistors legs into three different rows
 Connect the cables to the Esps power source
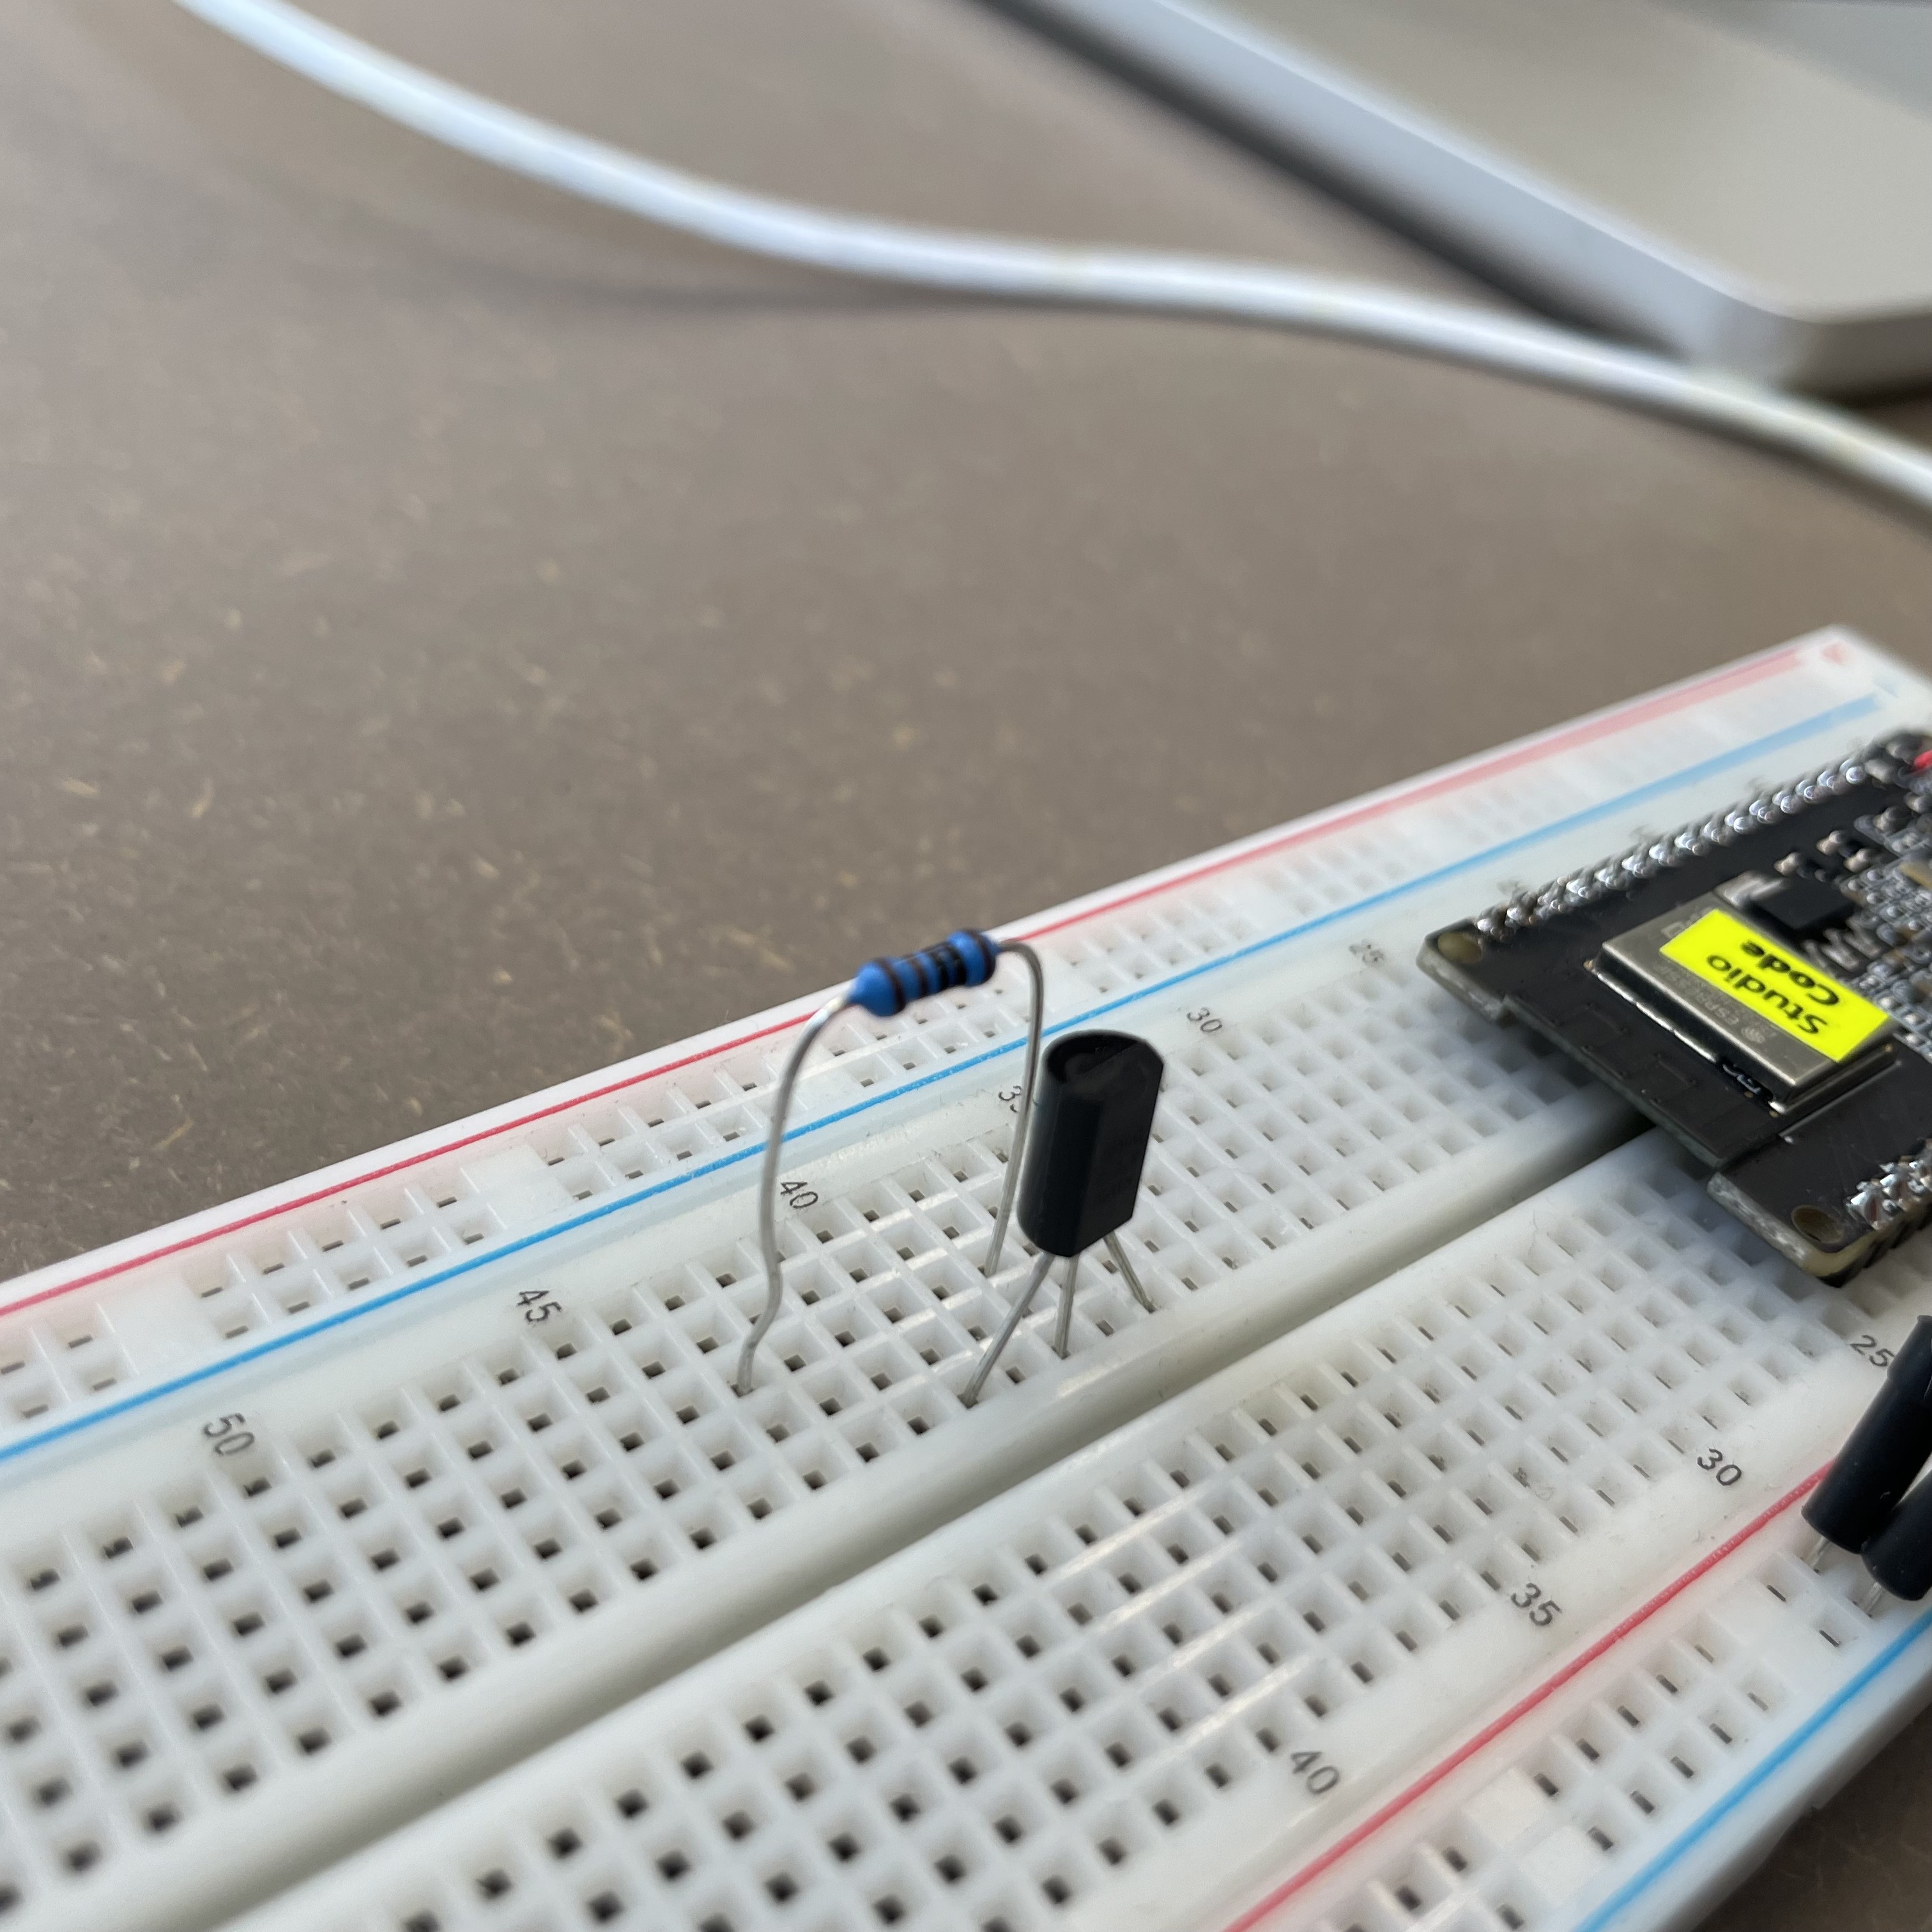 Stick the resistor between the transistors middle leg and a new row
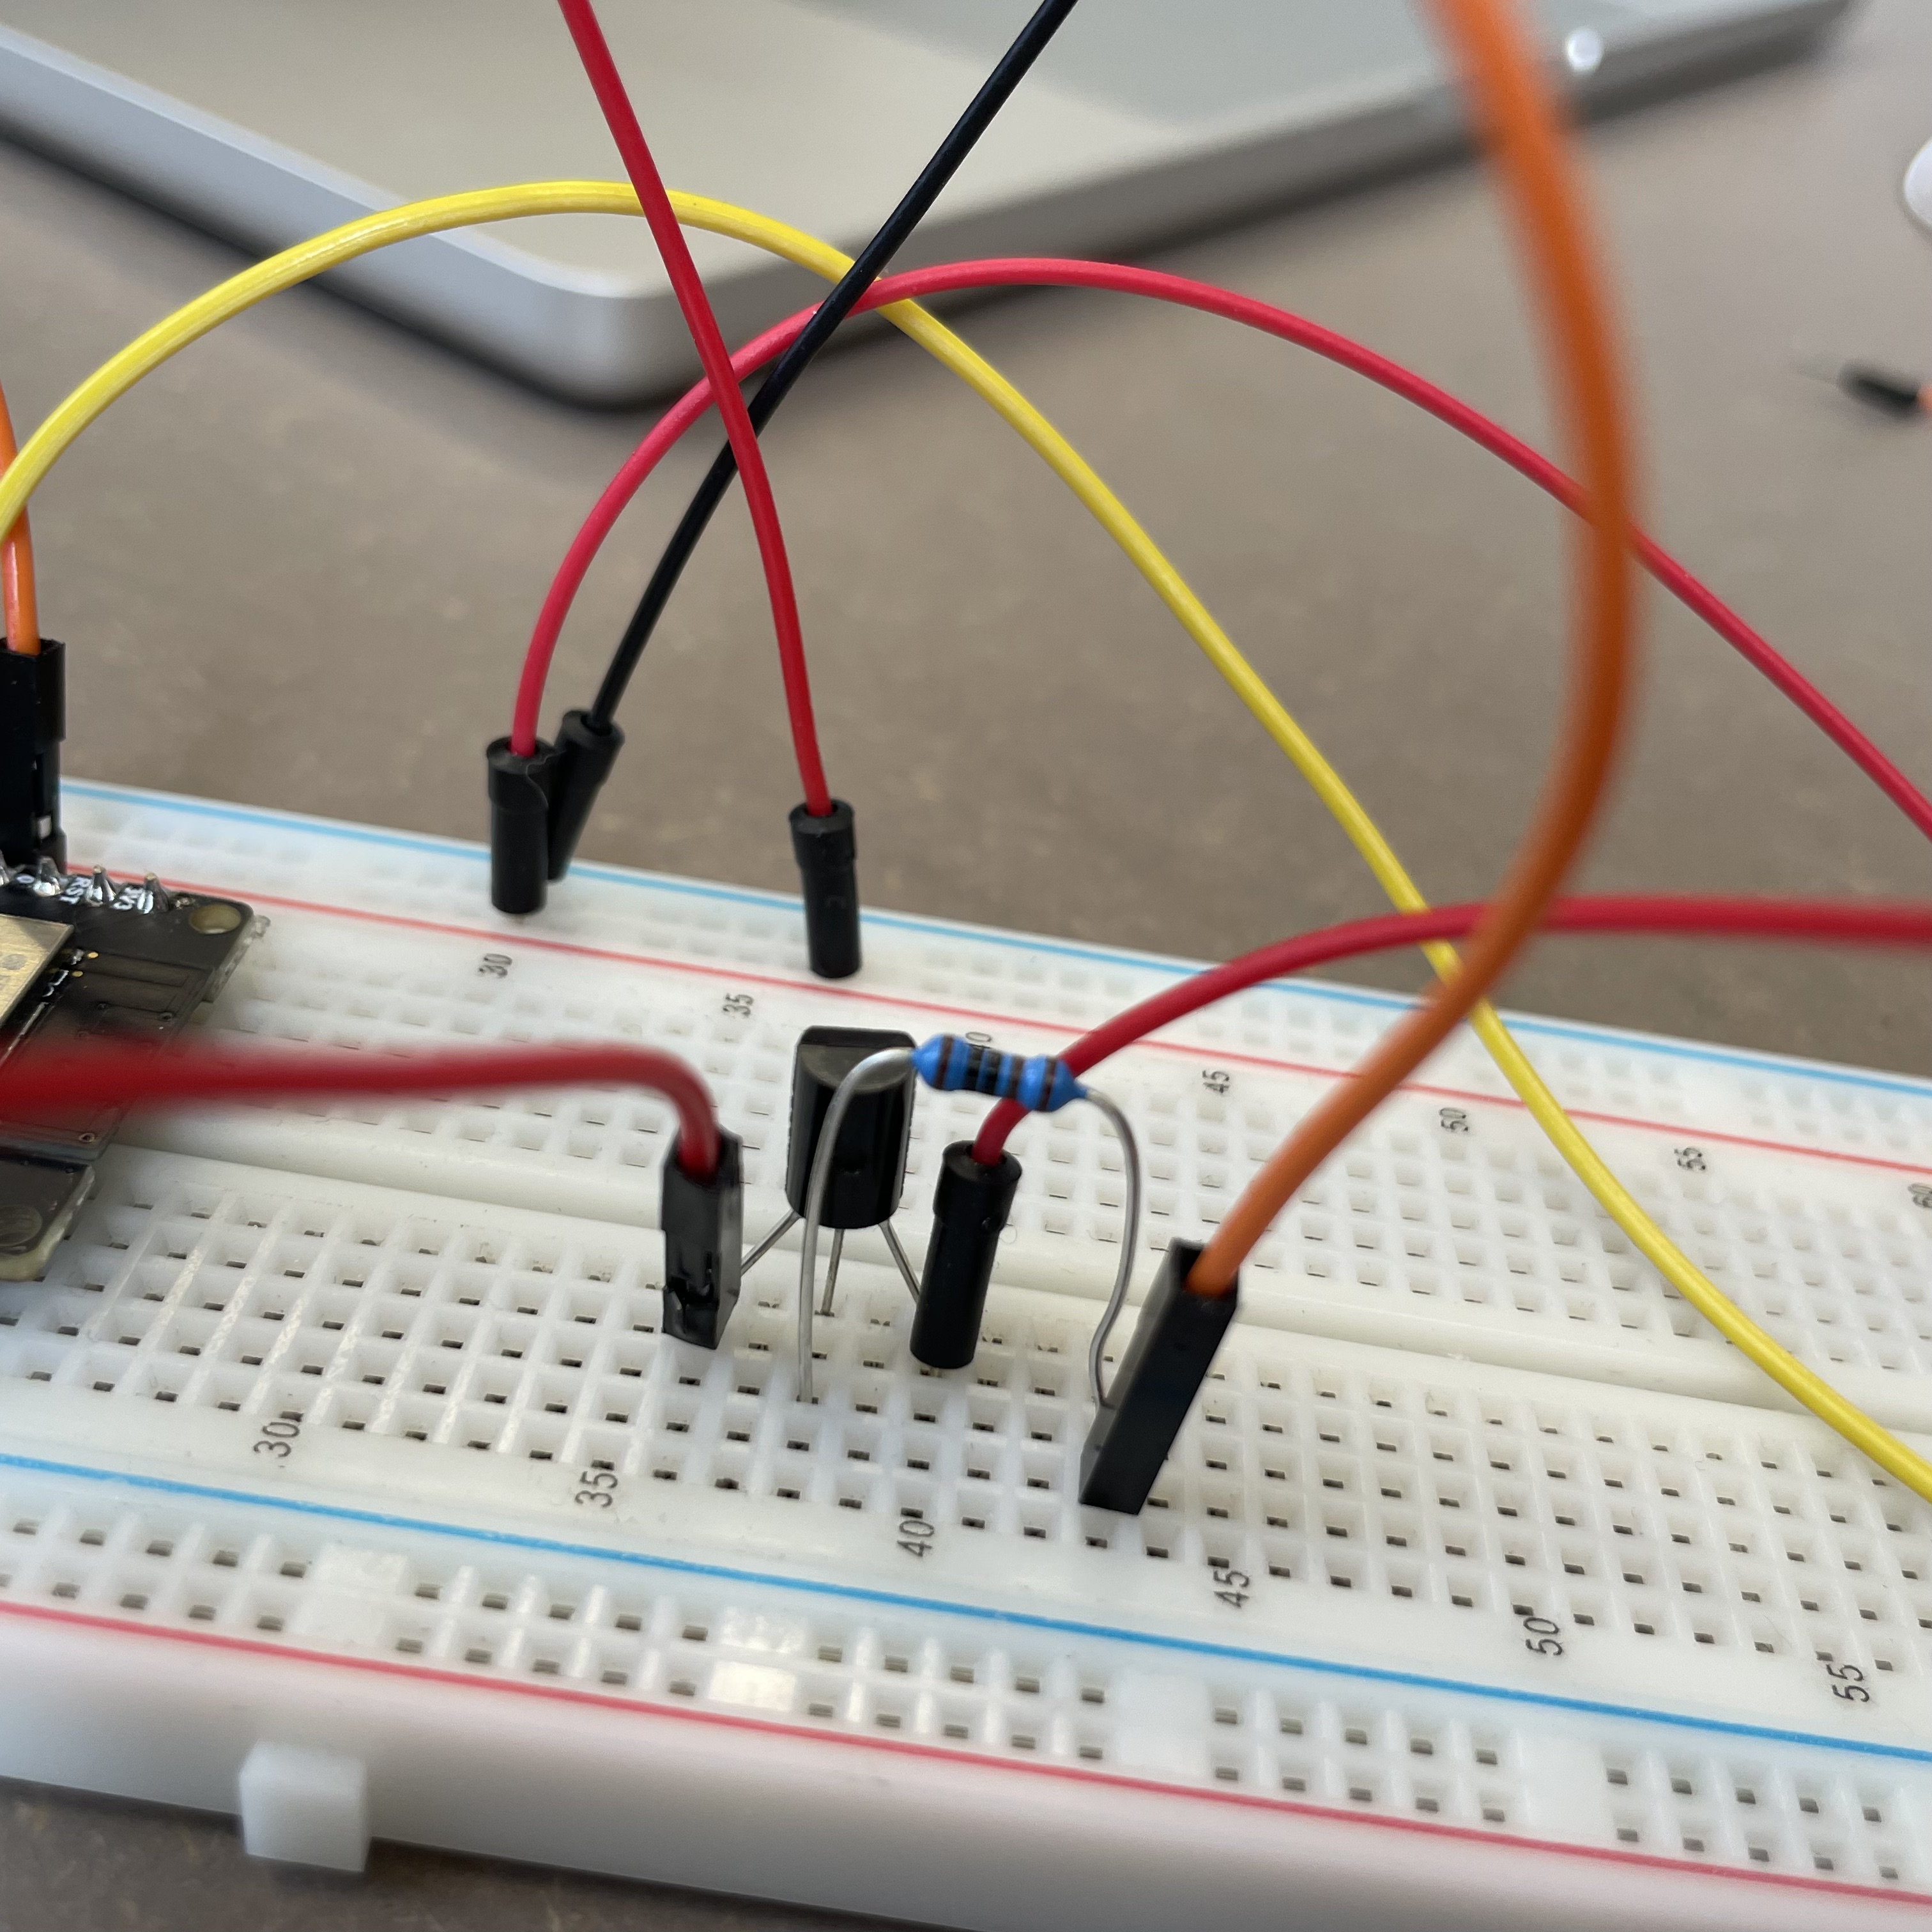 Now connect the new resistor row to an output pin of your Esp (orange cable)
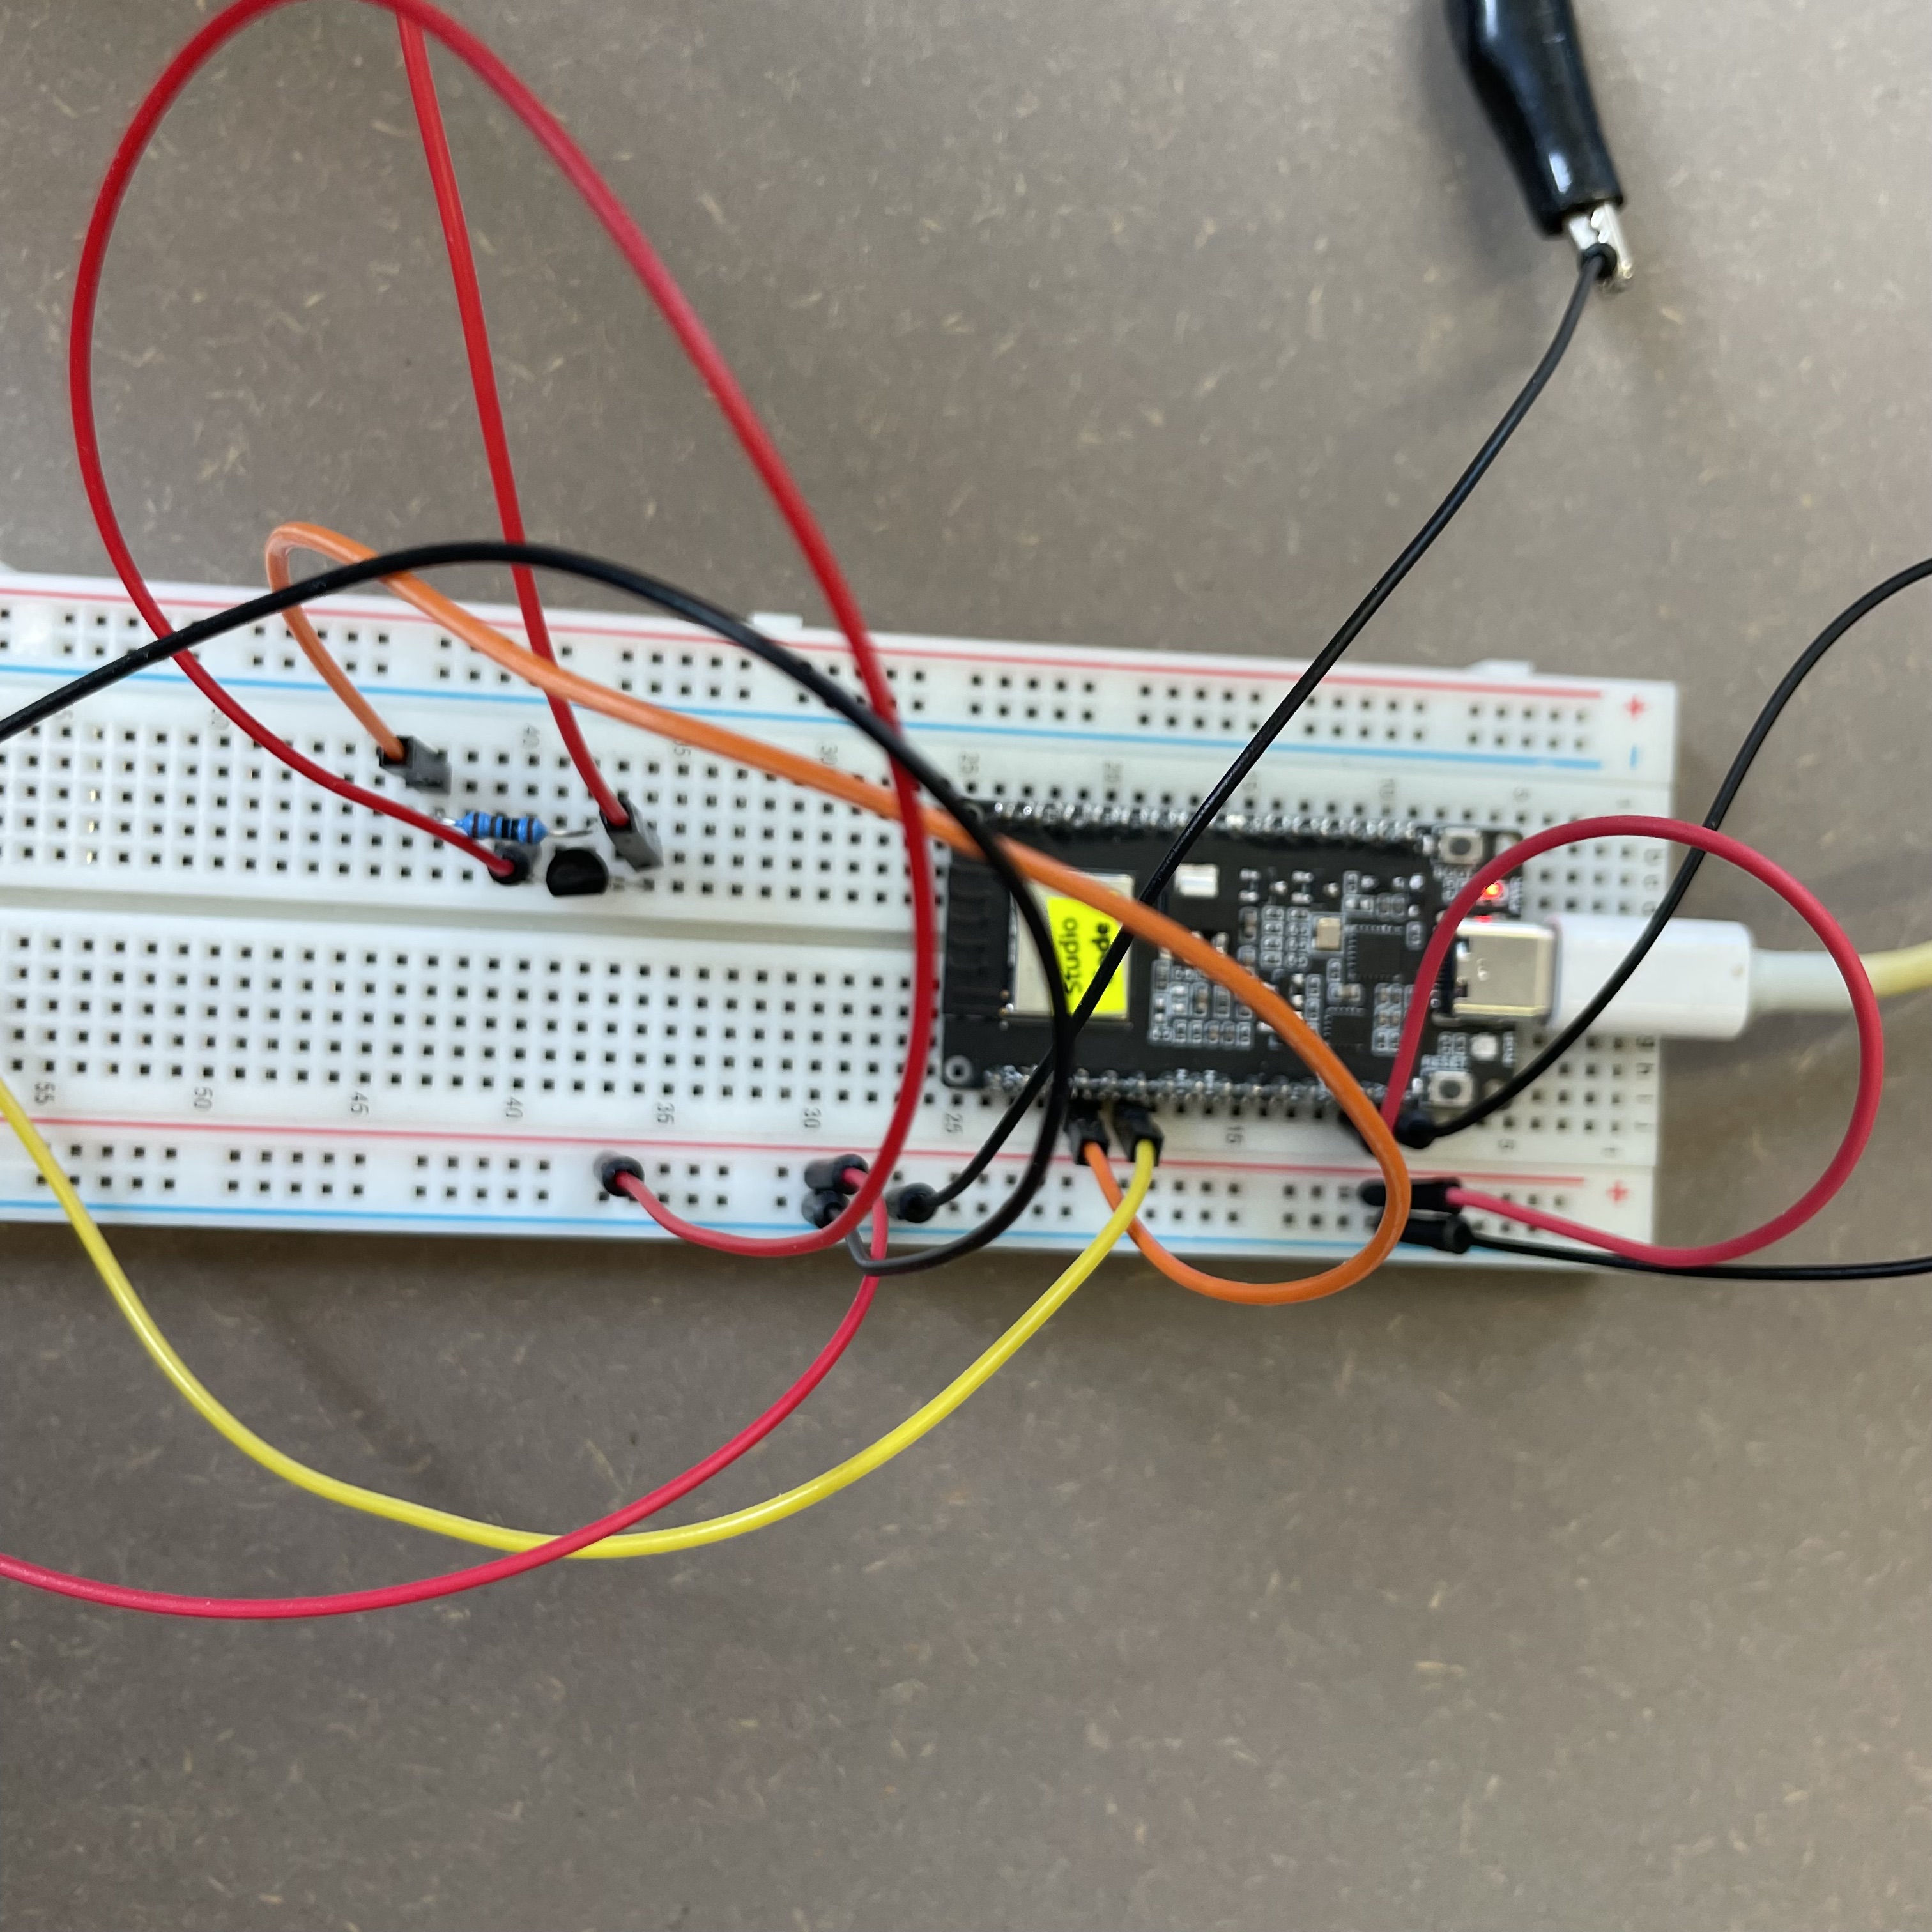 Also connect your Transistors left leg to the Esps power source while the right leg gives power to the pump via a red clamp
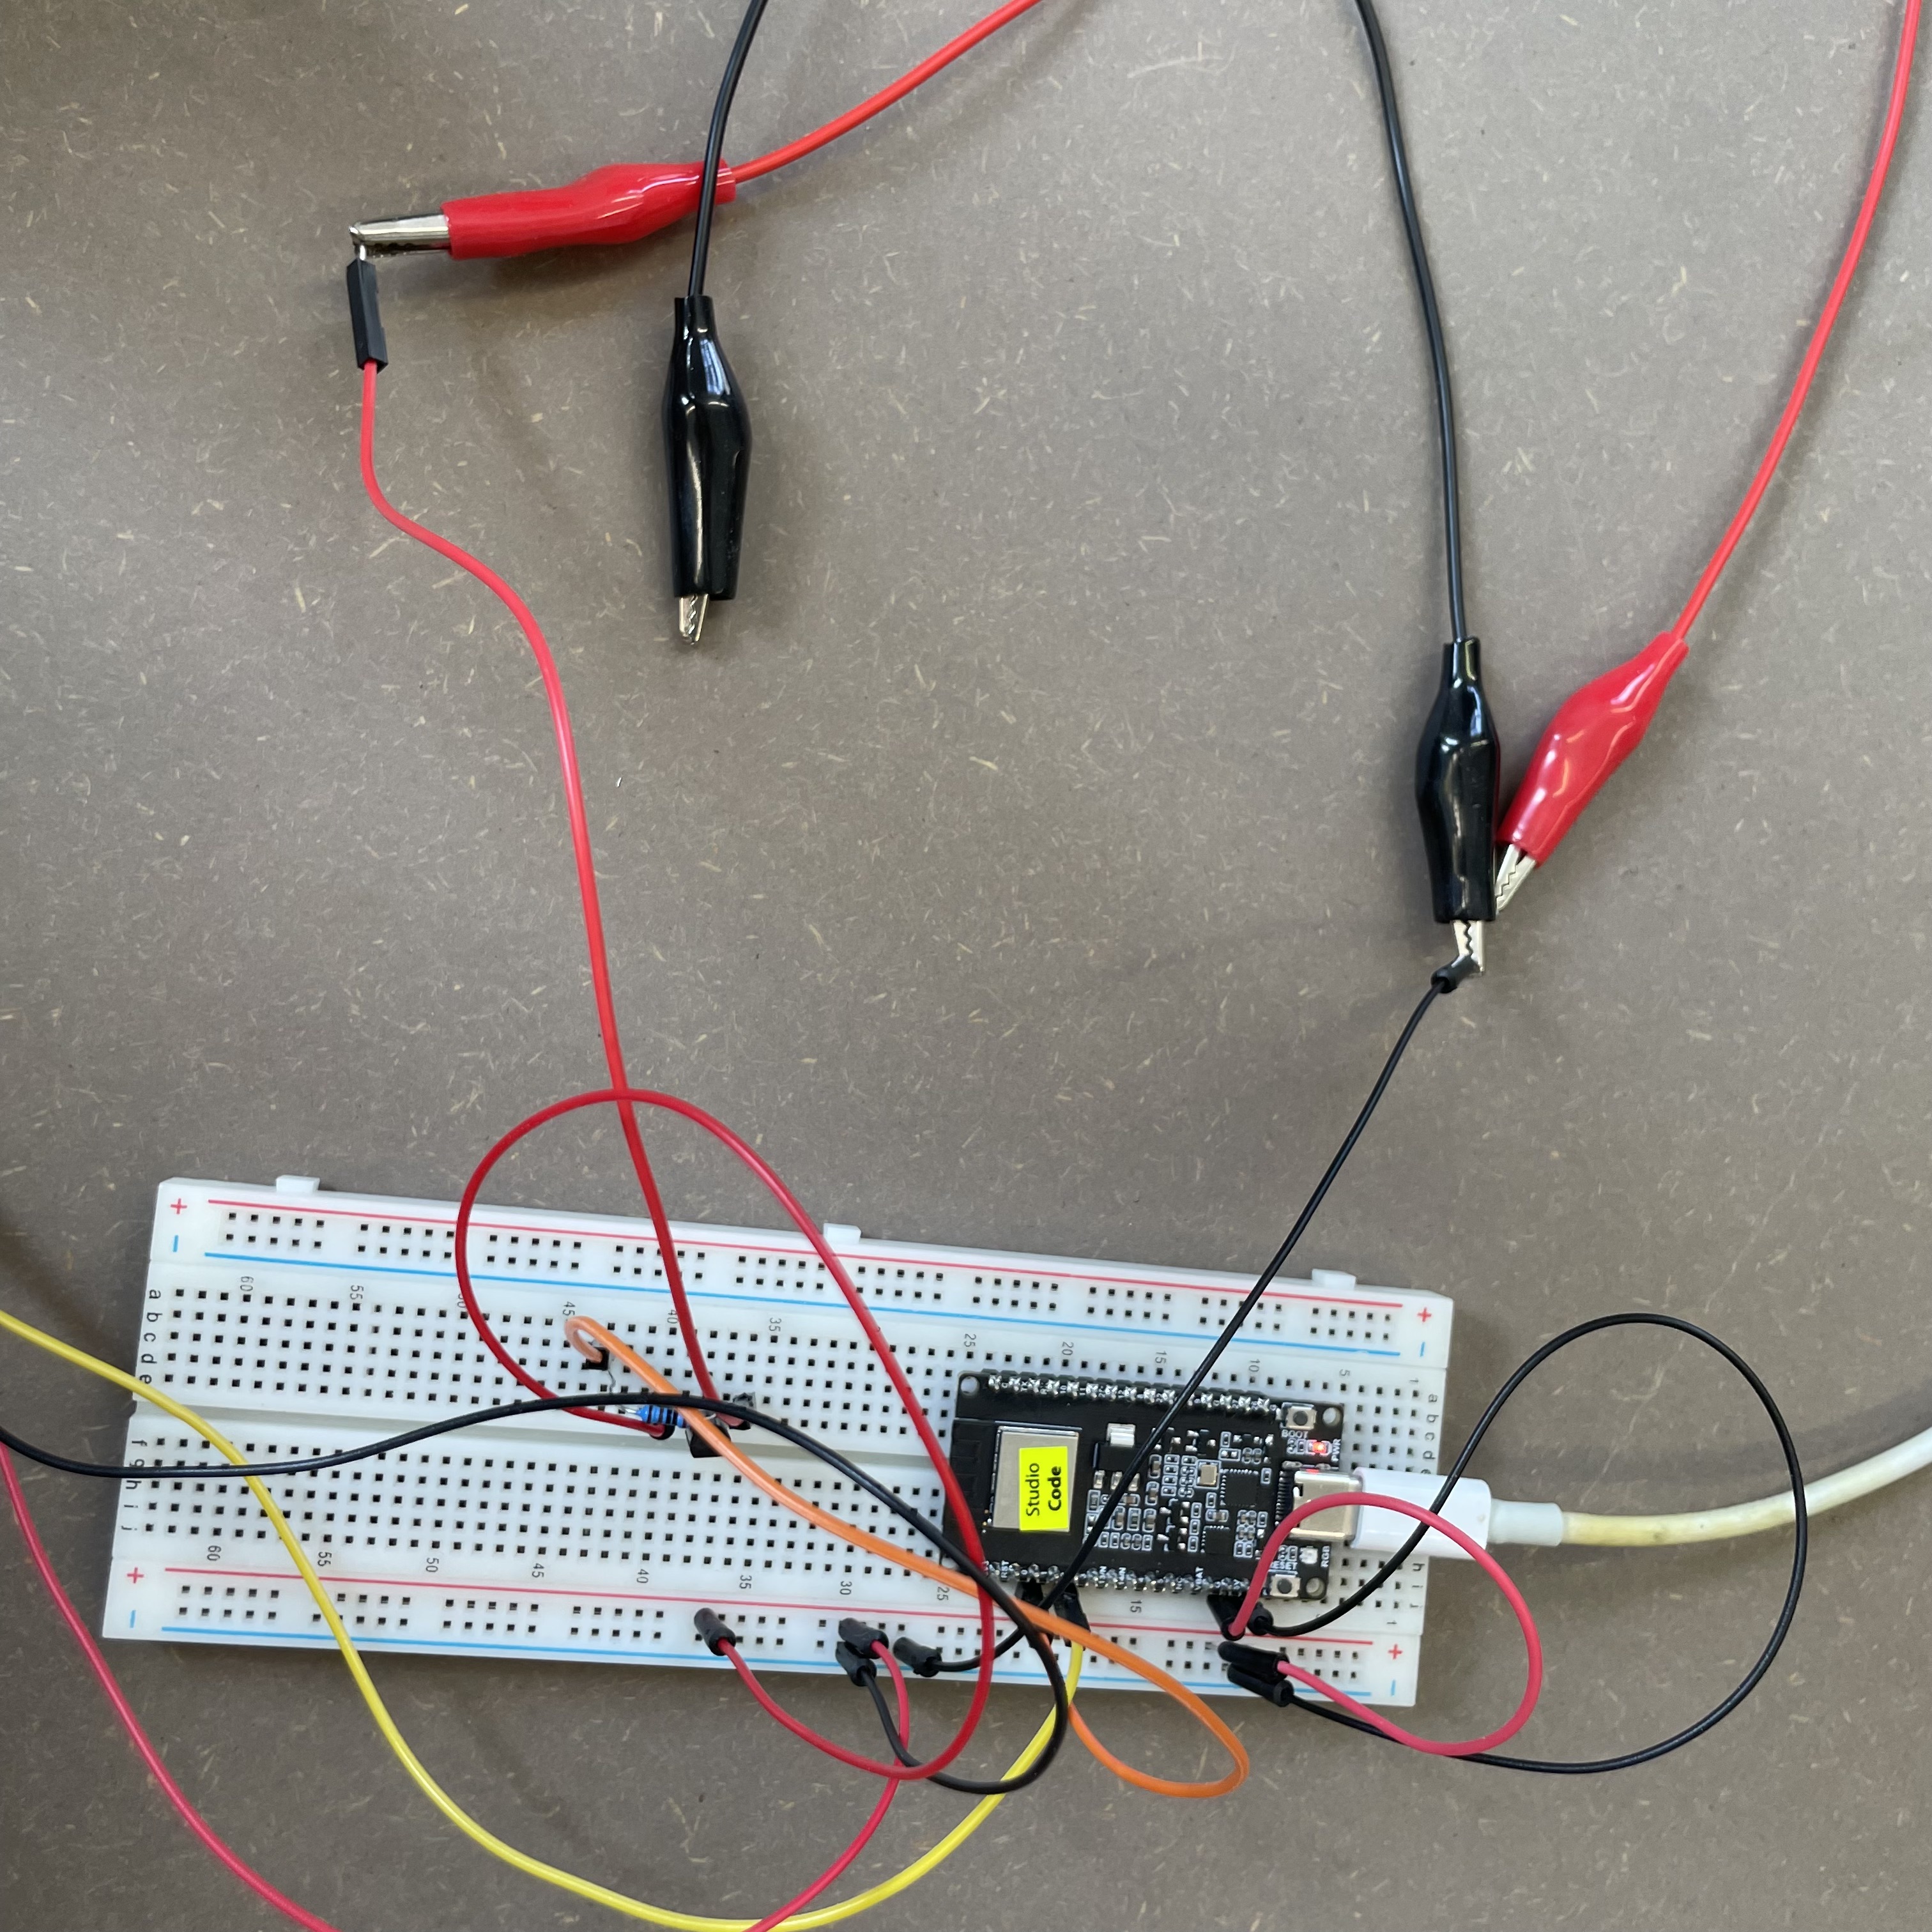 Connect a black clamp directly from the Esps GND to the pump and your're all set
Software Installation
To build our project you must install the following software:
       1. A IDE that works with Hardware: Clion or Visual Studio Code (recommended)


       2. PlatformIO extension for your IDE

        PlatformIO for Visual Studio Code

        PlatformIO for CLion


        3. Install the ESP32 board support package in PlatformIO

        PlatformIO ESP32 Board Support
Clone our GitHub repository and upload the code to both ESP32s:
        git clone https://github.com/water-broadcast/iot-project.git

        cd iot-project

        pio run --environment flower[1 | 2] --target upload
Configure the WiFi credentials by connecting to "AutoConnectAP" with another device (pw: flowerpower) and choosing the WiFi the System should connect to.
Final Installation
- Place the soil moisture sensor in your plant's soil
- Mount the water pump in your water reservoir
- Route the tubing to your plant
- Secure all components in an enclosure
- Enjoy your connected watering system!
How the finished system works
Once your setup is finished you should have 2 identical hardware systems, one ESP32 flashed with the Flower1 code and one ESP32 flashed with the Flower2 code. When you now water your own plant your friends plant, no matter how far away, will also get watered if its moisture detector detects its soil as dry. You now have a new way of creating connection with your friend without having to take any extra time during your day. If you are up for the challenge you can copy the system for all the plants in your household and share a plant watering chore and switch duty every week. Even when your friend is on holiday you can take care of their Plants without having even to enter their apartment!
Optional: Connection and Configuration via Node Red
Install Node Red and the dashboard package:
        npm install -g --unsafe-perm node-red

        npm i node-red-dashboard
Start Node Red:
node-red
Open http://127.0.0.1:1880/ in your browser and navigate through the menu to `Import` > `Clipboard` > `Choose file for upload` and upload `flows.json` from the `Node Red` folder of this repository.
After uploading successfully press `Deploy`
Open http://127.0.0.1:1880/ui and enjoy the handy UI for configuring the amount of water your plant should get or simply watering a plant remotely.
Project Repository
For complete documentation, code, and additional resources, visit our GitHub repository:
https://git.coco.study/ereeb/waterbroadcastThis project is part of the "Library of Closeness" in the VREUNDE project.